Time for another installment of…
How often have gone into your kitchen after dark, and only needed the light on over your stove, only to realize in order to see the button for the light on your over-the-stove microwave you must first turn on another light? Kind of seems to defeat the purpose, doesn’t it? Even with all of the technological improvements to microwaves that have been made including drawer styles where you only need wave your hand in front of a panel to open it, manufacturers still haven’t figured out how to have some sort of way for us to figure out where the light is. Maybe a dimple in the panel? How about a single always on LED light behind a light bulb symbol? It’s not like the thing doesn’t have electricity going to it all the time for Pete’s sake.
Enter the microwave light finder, new from the mind of Beth. OK maybe not new, I did it with our last microwave that died and my husband thought it was such a wonderful idea I’m doing it again. I took a small rounded clear plastic self-sticking dot and put it on the button on the microwave panel.  Now even in total darkness, we can just find the raised bump by touch and voila! Instant light. You can see the dot in the photo at right and about every 6 months or so my husband says “that was SUCH a s good idea”. As a matter of fact, Samsung, here is the criteria for the perfect microwave: 1. Lighted
 ![]() (or dimpled) light button.
(or dimpled) light button.
- See picture at right for which buttons can be eliminated due to their being unnecessary. 3. Simplify, simplify, simplify. 4. Charge less. Seriously who uses all of these? I already know how long to put butter in the microwave to soften it by virtue of having done it for 20 years without a button to tell me, I don’t need to have a sensor for that. I also know how long to cook other food, again, no special sensor needed. Popcorn, 3 minutes. Hot water in a cup, 3 minutes. Slice of leftover pizza, 1 minute. See, no special buttons needed!
Speaking of useful places for a little raised button, we have a Decora-style dimmer on the light in the master bedroom, and I’m always hitting the wrong button, accidentally turning the light on full, when I wanted to hit a different button and just barely turn it on, so I’ve added one of the little clear buttons where I need it. NO more bright lights at 11:00 PM! Of course, since the switch also happens to be a smart switch connected to our phones, if I was smarter, I would say “Hey, Siri, turn the bedroom light on at 5%” before I walked up the stairs, and the problem would have been solved that way too!
While I’m on a rant, why has no one made a string of incandescent Christmas lights that are only about 5 or 6 lights long, and the set comes with decorative blackout covers for unused lights? Yep, you heard that right, blackout covers. How many of us have changed over to LED lights on our Christmas trees either because we like the brightness of the lights, or want to save money? But in doing that, we can no longer connect our old Hallmark ornaments that needed to actually be plugged into an incandescent light string to work. This year I ended up buying a 10-light string so we could enjoy them again, and unfortunately not all of the old bases are the same shape so a little re-rigging was in order. However, the old ornaments are once again lighted, moving and talking, but we also have 5 other lights that look weird and out of place compared to the LED lights. So, there’s a solution but a bit of a hinkey one. (Word of caution, if you do this, do NOT plug LED and incandescent into the same series.) It’s best to use a surge suppressor and plug each type of light into a different spot on the surge suppressor.
Are you someone that loves to grind your own coffee from beans? If so, you may have noticed bags of beans have a funny little disc on them near the top of the bag and wondered what it’s for. Well, my husband did a little research for you. That’s a one-way valve designed to release the carbon dioxide off-gassed by the beans, and prevent oxygen from getting into the bag, preserving freshness. Without it, the bag would eventually expand until it blew up, but in order for it to work properly, the bag needs to be standing upright.
Last on the list, a gadget that truly works. How many times do you need to interrupt your dryer in the middle of the cycle to untangle/unroll the sheets? I usually did it twice, sometimes three times but not anymore! I give you the “Wad-Free“. I linked to it on Amazon but do want to say I am not an affiliate, and make no money off of it. 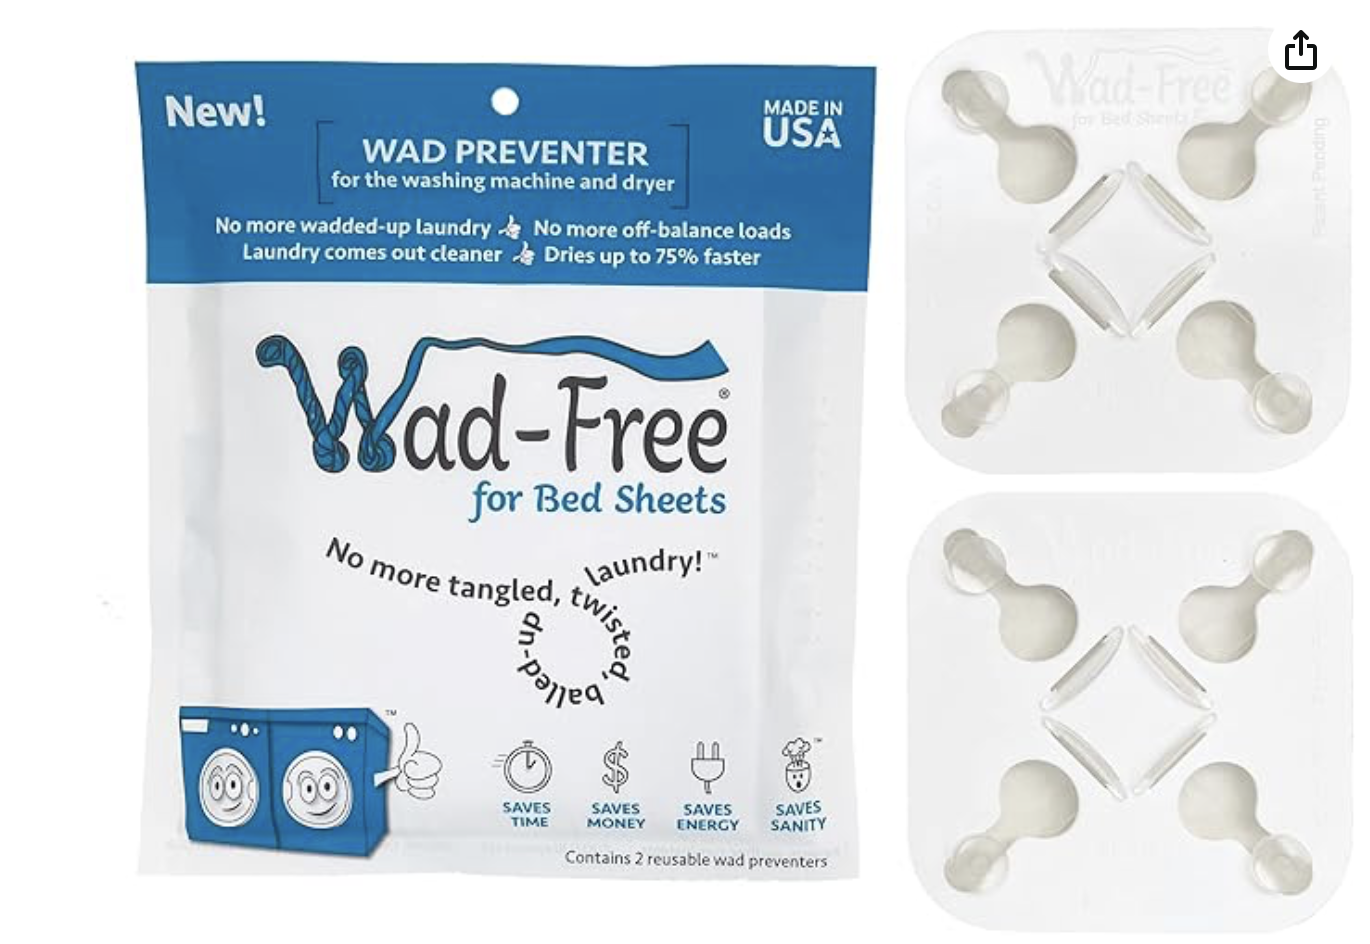 I just love it. You attach the 4 corners of the sheet to the 4 corners of the plastic disk, (They attach a little like a garter). Voila! No more tangled up sheets. I don’t remember where I heard about them but finally decided to try them and after 4 months, I think they’re the best thing since sliced bread. The worst thing about them is that the 4 corners come out slightly wrinkled because of being attached to the little garter thingy, and there are folks in the reviews that fuss about that. Honestly, I don’t have anyone that persnickety in my house. If a guest is going to see those little wrinkles, I can’t call for a hotel room for them. I also know there were some folks that didn’t have as good luck as I’ve had, and I think perhaps they had king size sheets, which might be too big for this to work. We have queen size and they’re perfect.
What tips or ideas do you have to make life easier?


