I think it’s a tradition that a long holiday weekend is made for tackling house projects, right? Going with that theme, we decided to undertake one that had been in our minds for a long time, which was repainting the outside of our front door. The previous owners had this thing about brown…everything in this house was either dark brown or baby poop brown. We’ve been trying to get everything inside painted and made less depressing for years and finally finished that up 2 years ago. It was time for the exterior of the front door to get a face lift.
As you can see, the paint was faded, and badly cracked and if you look closely you can even see where they had painted the old hardware purple, then scraped it off again with God only knows what, because if you have to remove it why would you bother with something like acetone that can get into the nooks and crannies?  Nah, just scrape and scratch and hope for the best, right? Don’t tape anything off either, like the bottom weather stripping, just paint right over it. Sigh. In any case, we’d lived with it for 8 years which was about 7.5 years too long. With a long holiday weekend looming, we had plenty of ambition to get us started.
We thought we would start first thing on Friday morning, put stripper on the door, and with a little luck we’d be painting by late in the day, have the door back on maybe by midnight? Unbeknownst to us, however, the door didn’t have a single layer of paint; counting the original primer, it had 5! Factor in that our door faces SW, and in the winter we have a glass panel in the screen door so the sun beating through it makes that door so hot you can’t even touch it, and all that paint was absolutely baked on over the years.
It took us 2 solid days of stripping, scraping, stripping, scraping etc., in the garage, to get those 5 layers off. Yeah, it’s funny now, but no one tells you when you start these projects “DO NOT START WHEN IT’S 95 DEGREES AND 70% HUMIDITY – FOR THE NEXT 3 DAYS!”. It was miserable, but of course once you start, well, you know the old saying “in for a penny, in for a pound”. We put a huge piece of cardboard over our front door to seal it up and keep the house cool, and while effective it certainly wasn’t secure, so we also slept on our living room sofa sleeper for 4 nights because we didn’t feel comfortable being too far from a basically open doorway. After that I am really glad we also have a guest bed for guests to sleep on and the sleeper is a backup plan.
I’m sure that the citrus strippers really are the better and safer way to go for this kind of thing but honestly, the amount of time it took, I almost wonder if a product like the old Zip Strip wouldn’t have been faster. Certainly more toxic, but faster would have been better. And when it was finally all free of paint and down to bare metal, it needed to be wiped clean with mineral spirits, and then re-primed, which started another whole level of learning.
Did you know you can’t prime bare metal with regular primer? Nope, you need to use primer for clean metal, which is an epoxy primer and needs to dry for 24 hours in a very well-ventilated area. Well I guess the garage met that criteria, but here’s the dilemma. If you leave the doors open, you get dust and other schumtz flying around and possibly sticking on the fresh primer and paint. If you close the doors in 95 degrees and 70% humidity, eliminating ANY chance of air movement? ARGH!! (Smacking head on wall.) Then it was FINALLY time to paint it, and it was beautiful. To be safe we let the paint dry a day and a half before putting the new hardware on and putting the door in place.
The Big Reveal
I feel like this color is perfect for us!! I look at it and feel like I’m down island somewhere. We are now the ones that people will say “you’ll know their house by the front door. Trust me.” I love that. It’s fun, cheerful, inviting and oh so welcoming, which is truly how we want you to feel here.
Unfortunately, now that the main door looks so great, it makes me see all the flaws in the screen door, so I’m pretty sure that new hardware isn’t too far behind for that, and maybe even a coat of fresh white paint too. Oh yeah, and paint on the wood trim around the door, and…
It never quits.

 New Year’s cards this year. I searched everywhere in the store, but couldn’t find the tablet anywhere, and figured this location was out. So, I looked at a different location…nope, not there either. No stationary in the cards department either. It finally dawned on me, no one writes letters anymore. We tweet, Facebook and e-mail everything. Even an actual Christmas letter is going the way of the dodo bird, and has been replaced by the Shutterfly photocard (yes, we’ve succumbed as well!) but the list we send out to has slowly dwindled over the years as folks have stopped sending to us. Amazingly, we do have 2 relatives who still send handwritten letters every year, and I like to send a handwritten note back to them as well. I feel like if they have taken the time to do that for me, it’s the least I can do for them.


 You can see an example of one on the right that I copied from eBay (with all apologies to the photo owner). What’s that supposed to show me? The background competes with the item, so that’s the first problem, and the camera focused on the background so the watch is blurred. If I’m going to ask a complete and total stranger to put their faith in me, and buy something they can only see in photos, the least I can do is take decent ones for them to see what they are getting. What works best for me, is that I set up a small area in my house when I’m getting things ready for sale, and depending on what they are, or how much detail is needed, I might even set up some studio type lighting or put a macro lens and ring flash on my camera so that I can take really good close ups.
 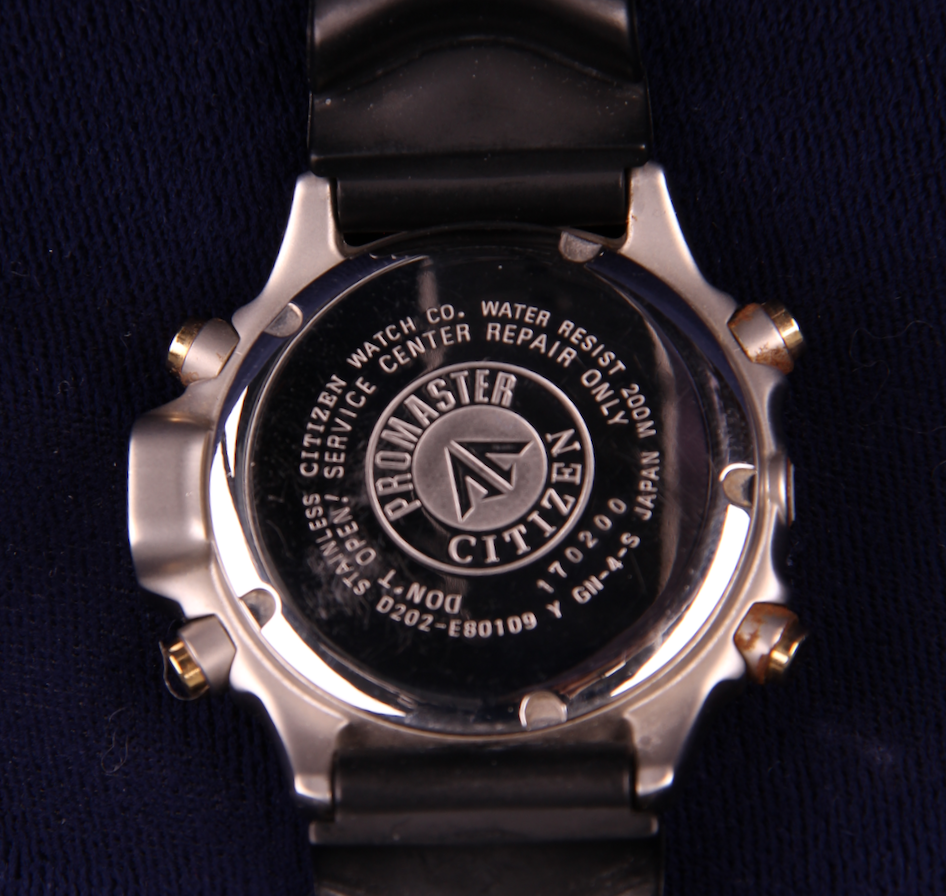 Here is one of mine: Notice how you can see all the detail on the back of the watch, including that there are minimal scractches? I realize not everyone has the capabilities for the same set up I do, but everyone should be able to find a way to take a photo that is sharp and clear. Also, remember to take pictures from different perspectives: front and back, sides, underside, etc. Show brand names, model numbers, anything that shows specifics about your item.
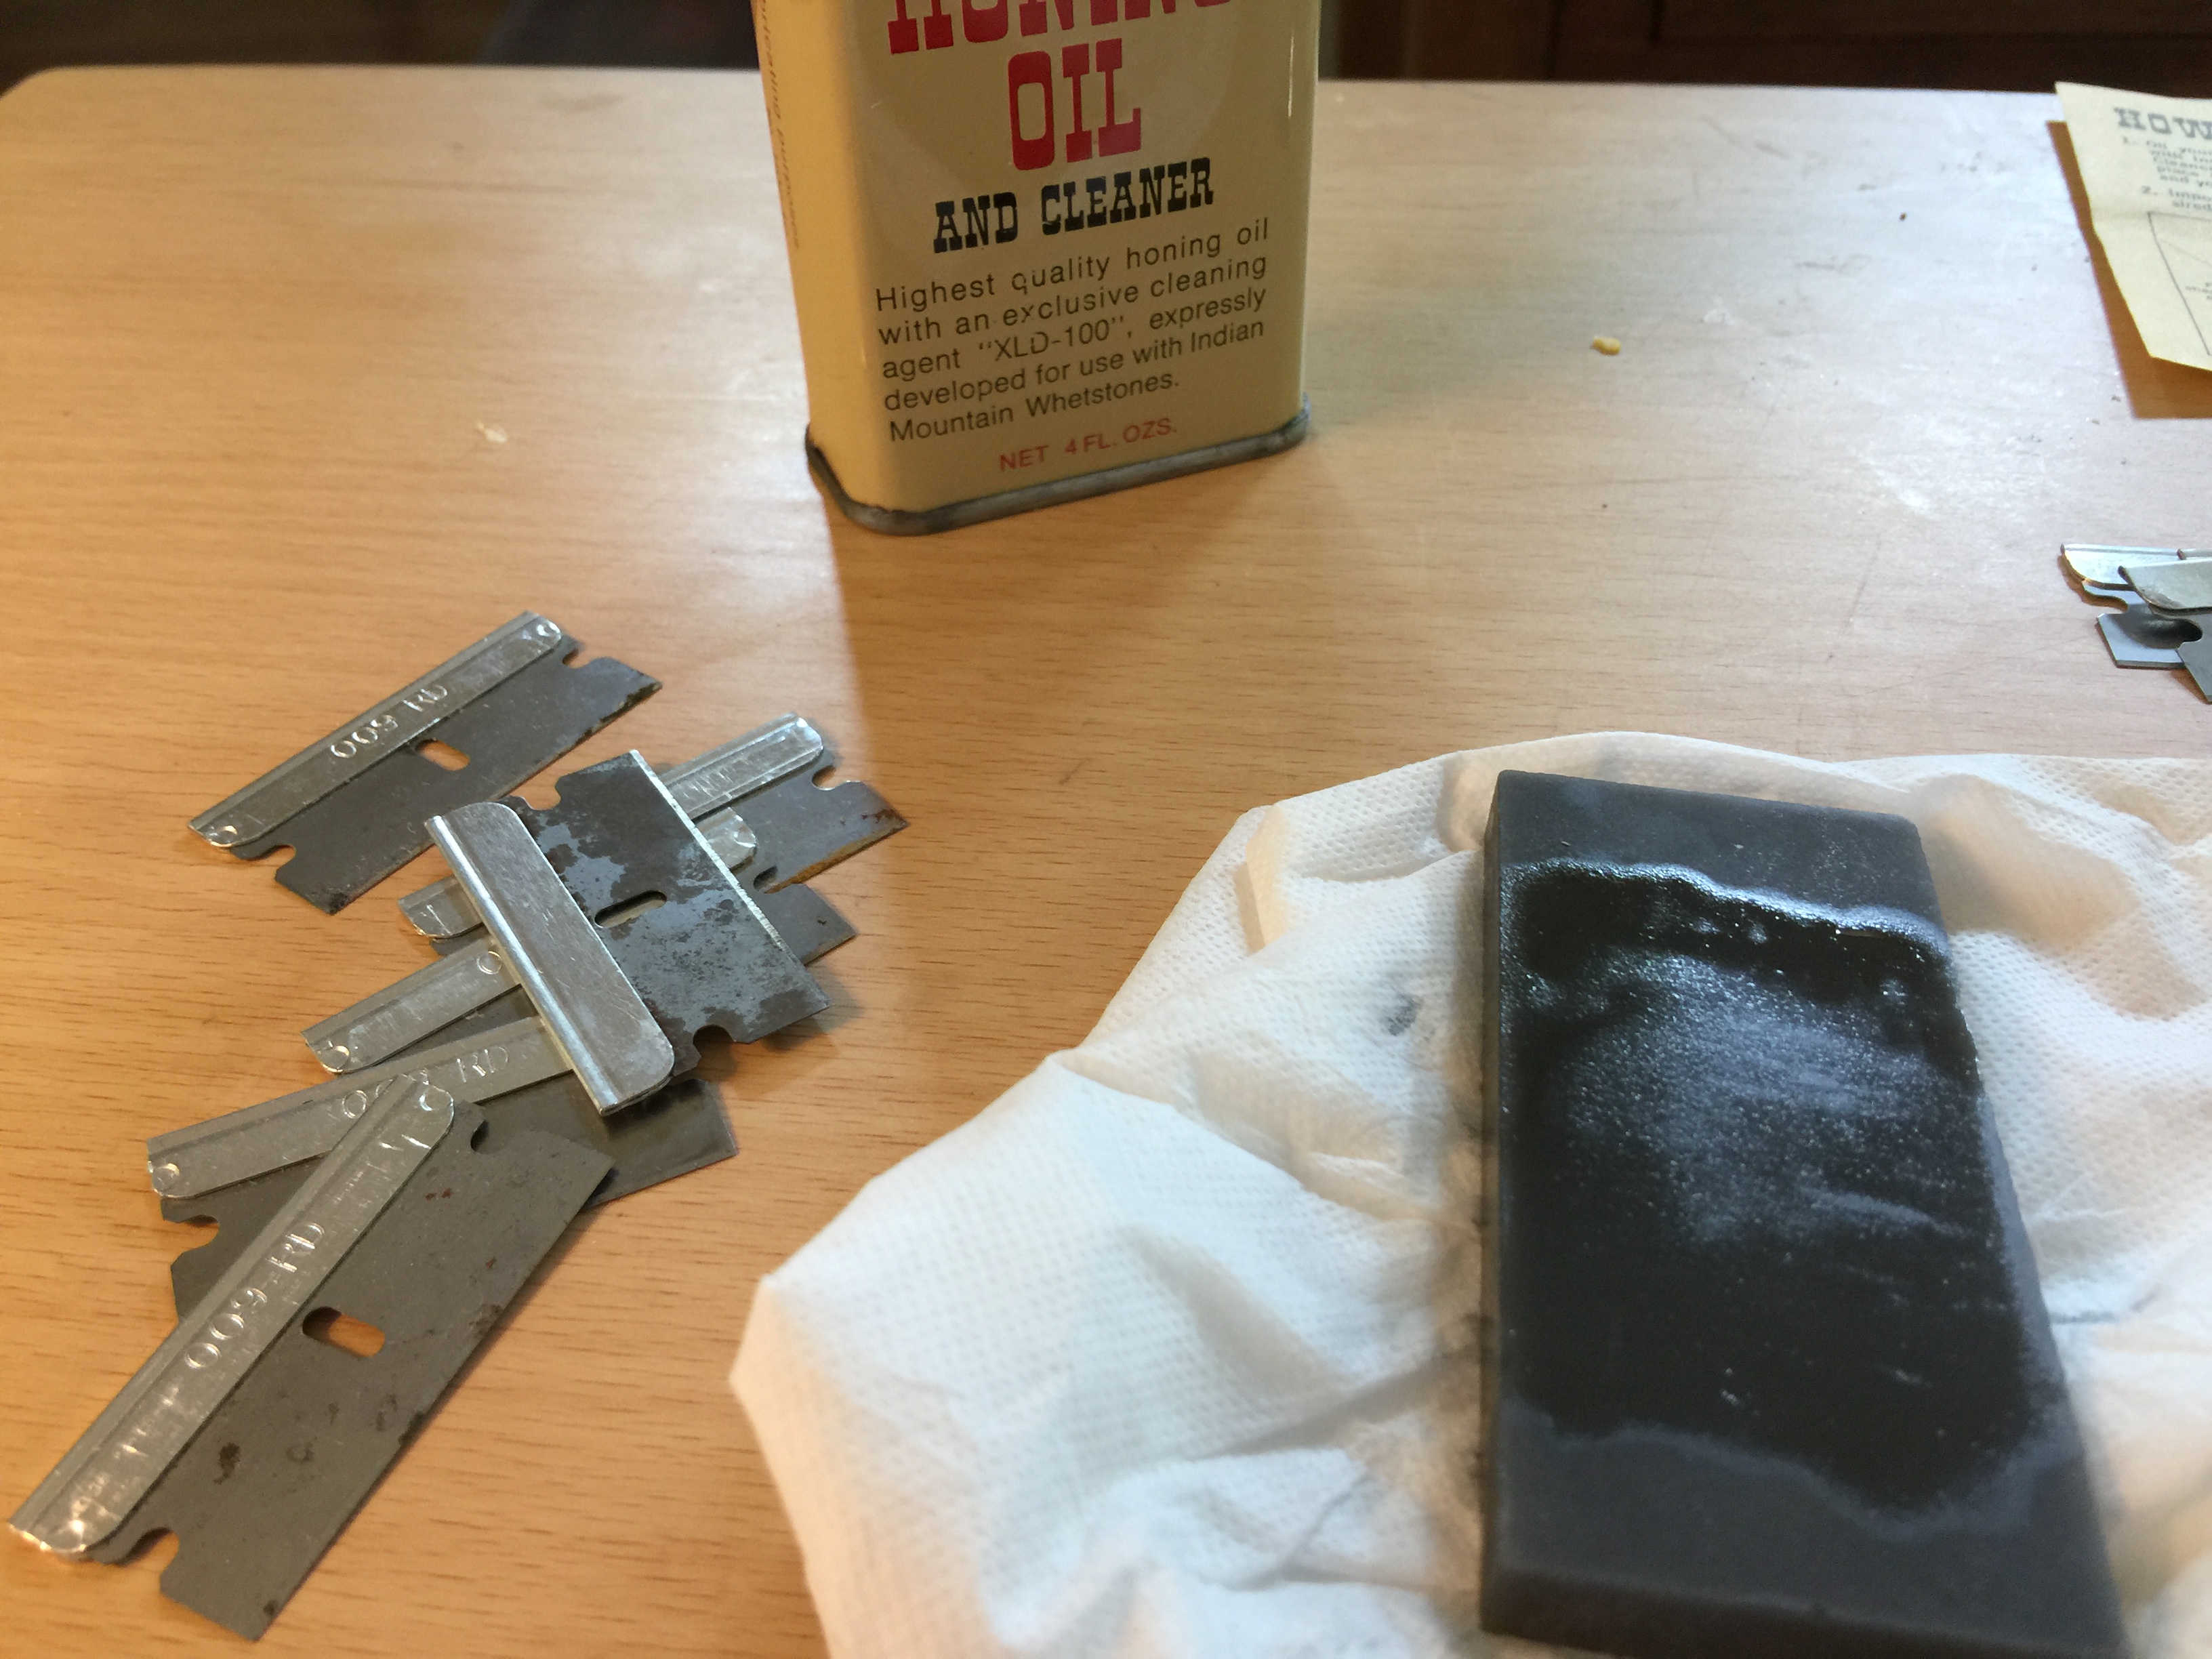 Get a blade sharpening kit, or if you already have a whetstone then get honing oil. You can see in the photo to the left, my whetstone with oil on it after I had sharpened a few blades along with my razor blade collection. (I managed to pull them back out of the plastic container with a tweezers. Carefully.)
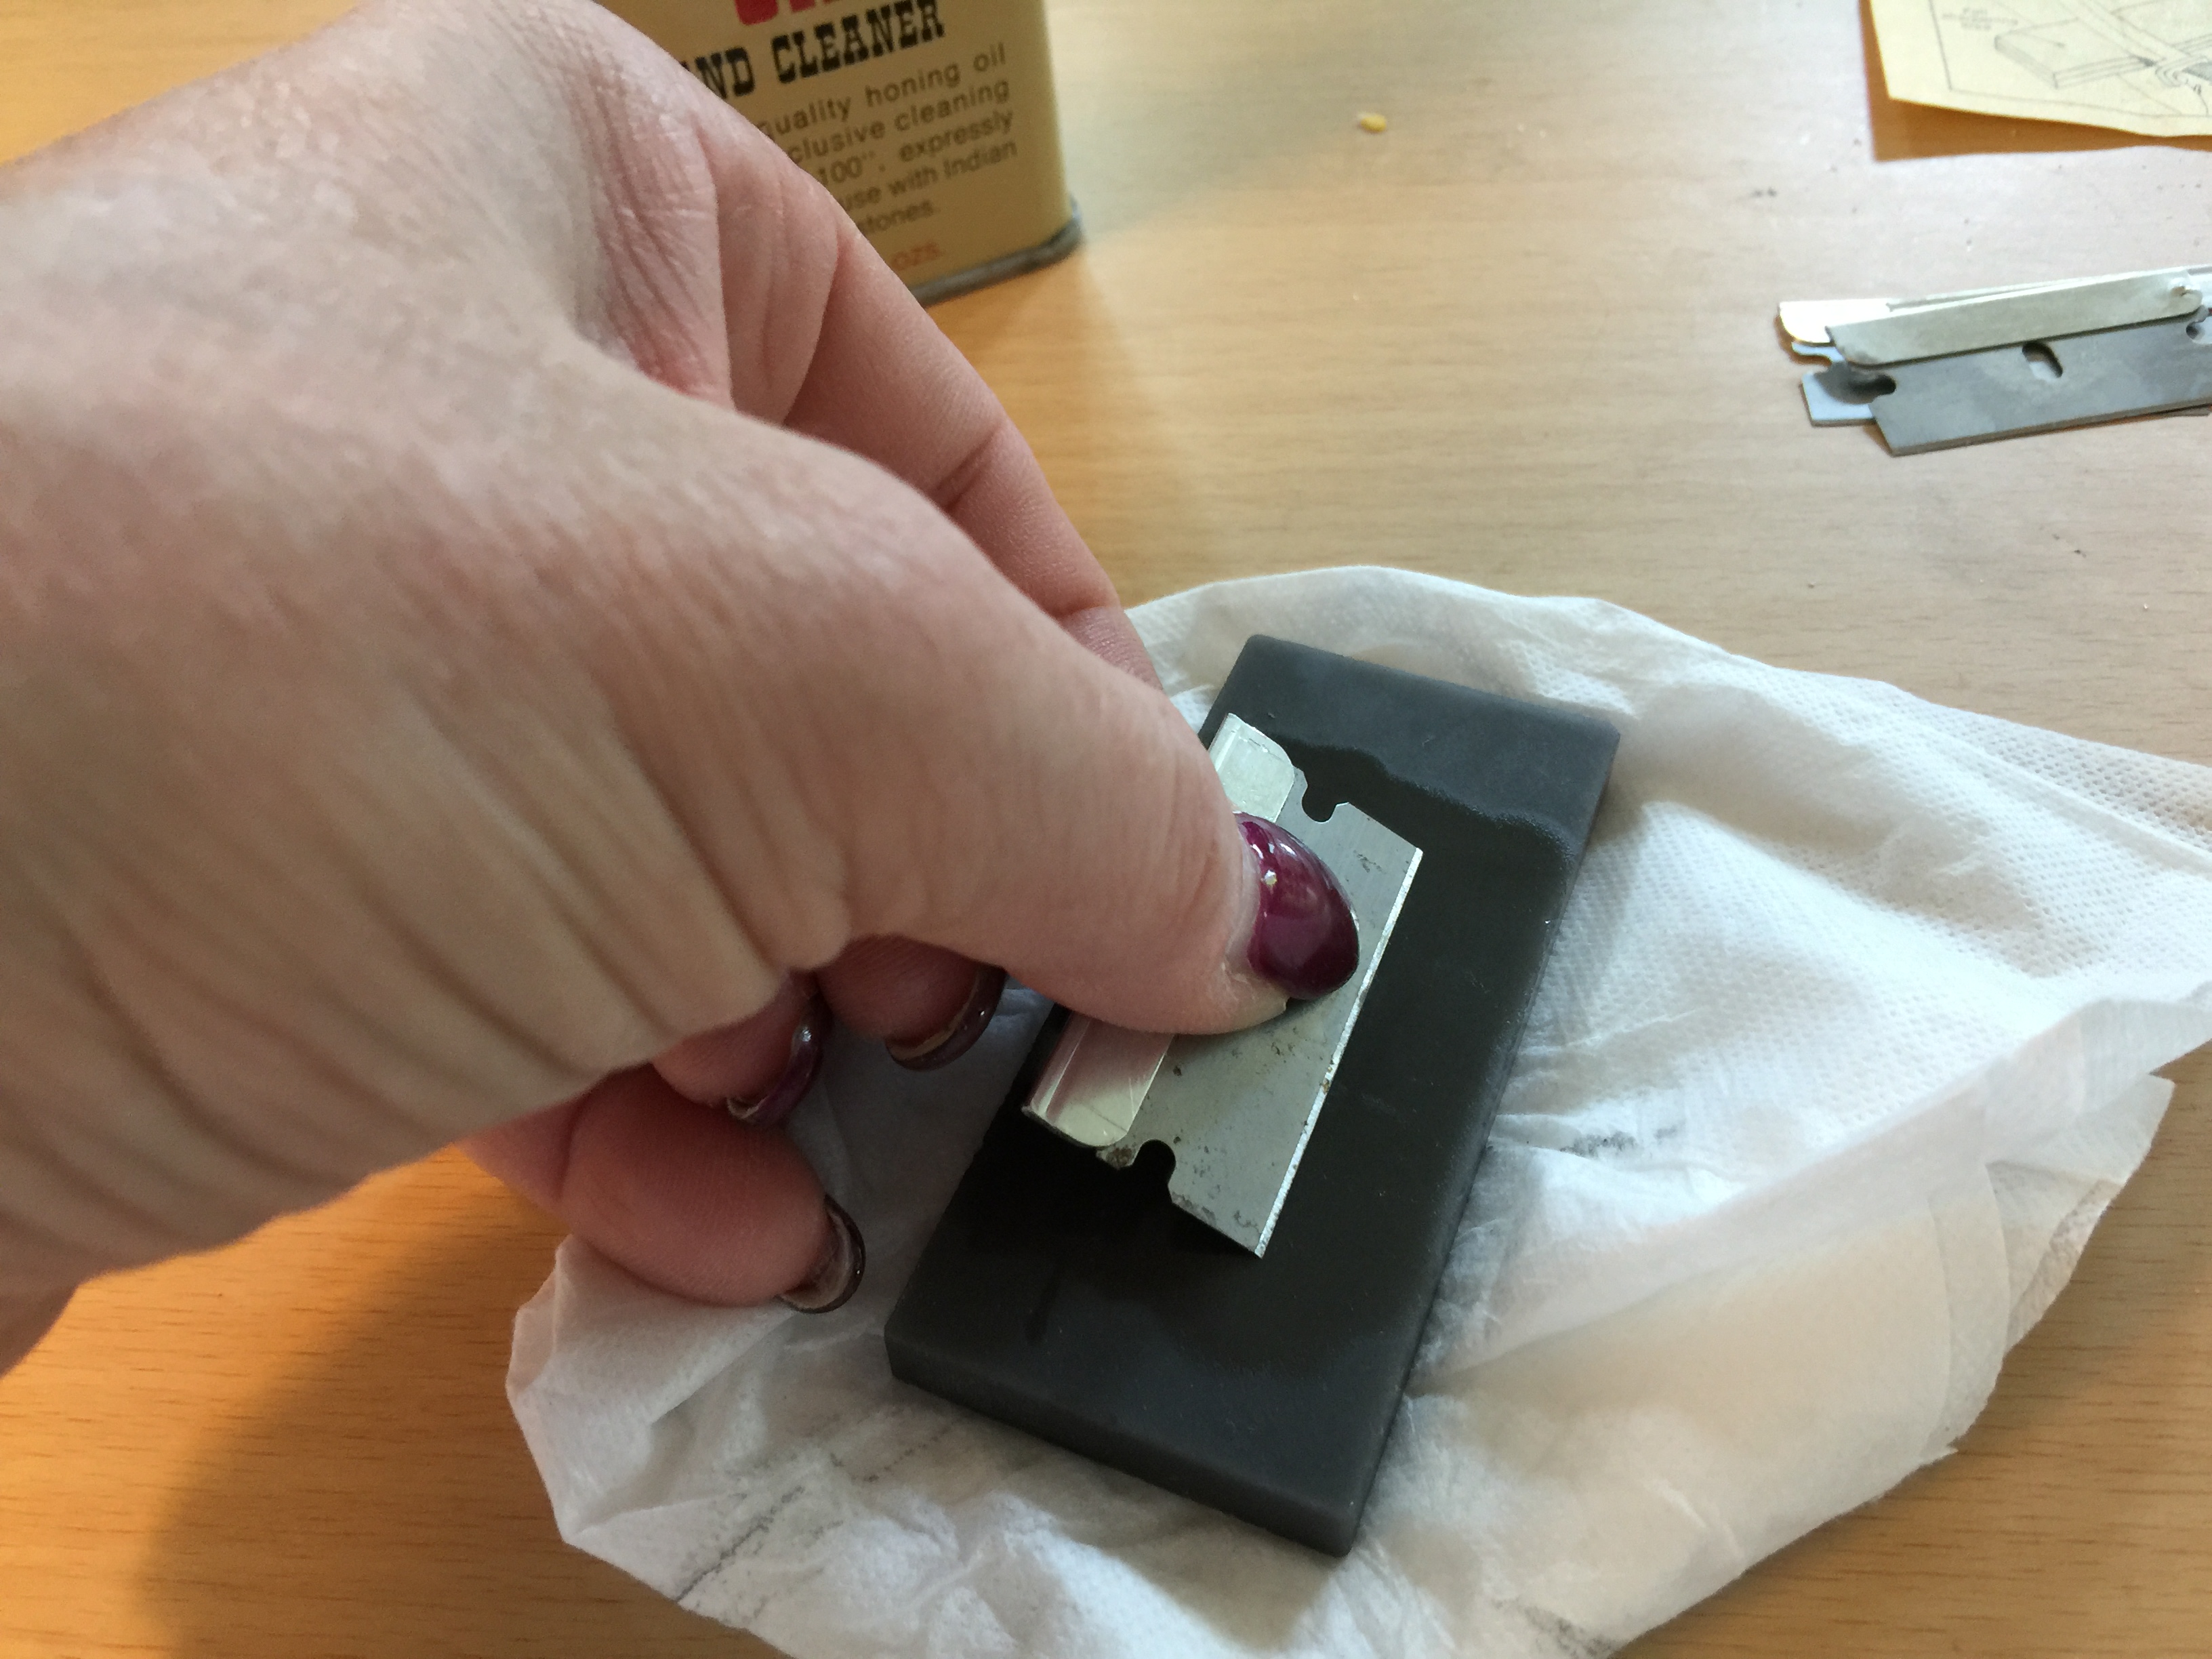 In the photo to the right, that would be pulling the blade from right to left. I did that on each side about 6-8 times, then wiped off the oil and tested it by pulling it against the edge of a piece of paper. After all were sharpened, I put them back in the storage container, and labeled it so I knew they were sharpened but not new. Now I’m all set with 14 freshly sharpened blades, and all it took was a kit we already had, and maybe 30 minutes to do all of them. And if you’re really in a rush, you can just pull them against some sandpaper. I used some 100 grit, that worked pretty well too.


 I’m doing this one with the color it is, which is the mock terra cotta, but I’ve also done it by first spray painting it with white primer so that my base was white.

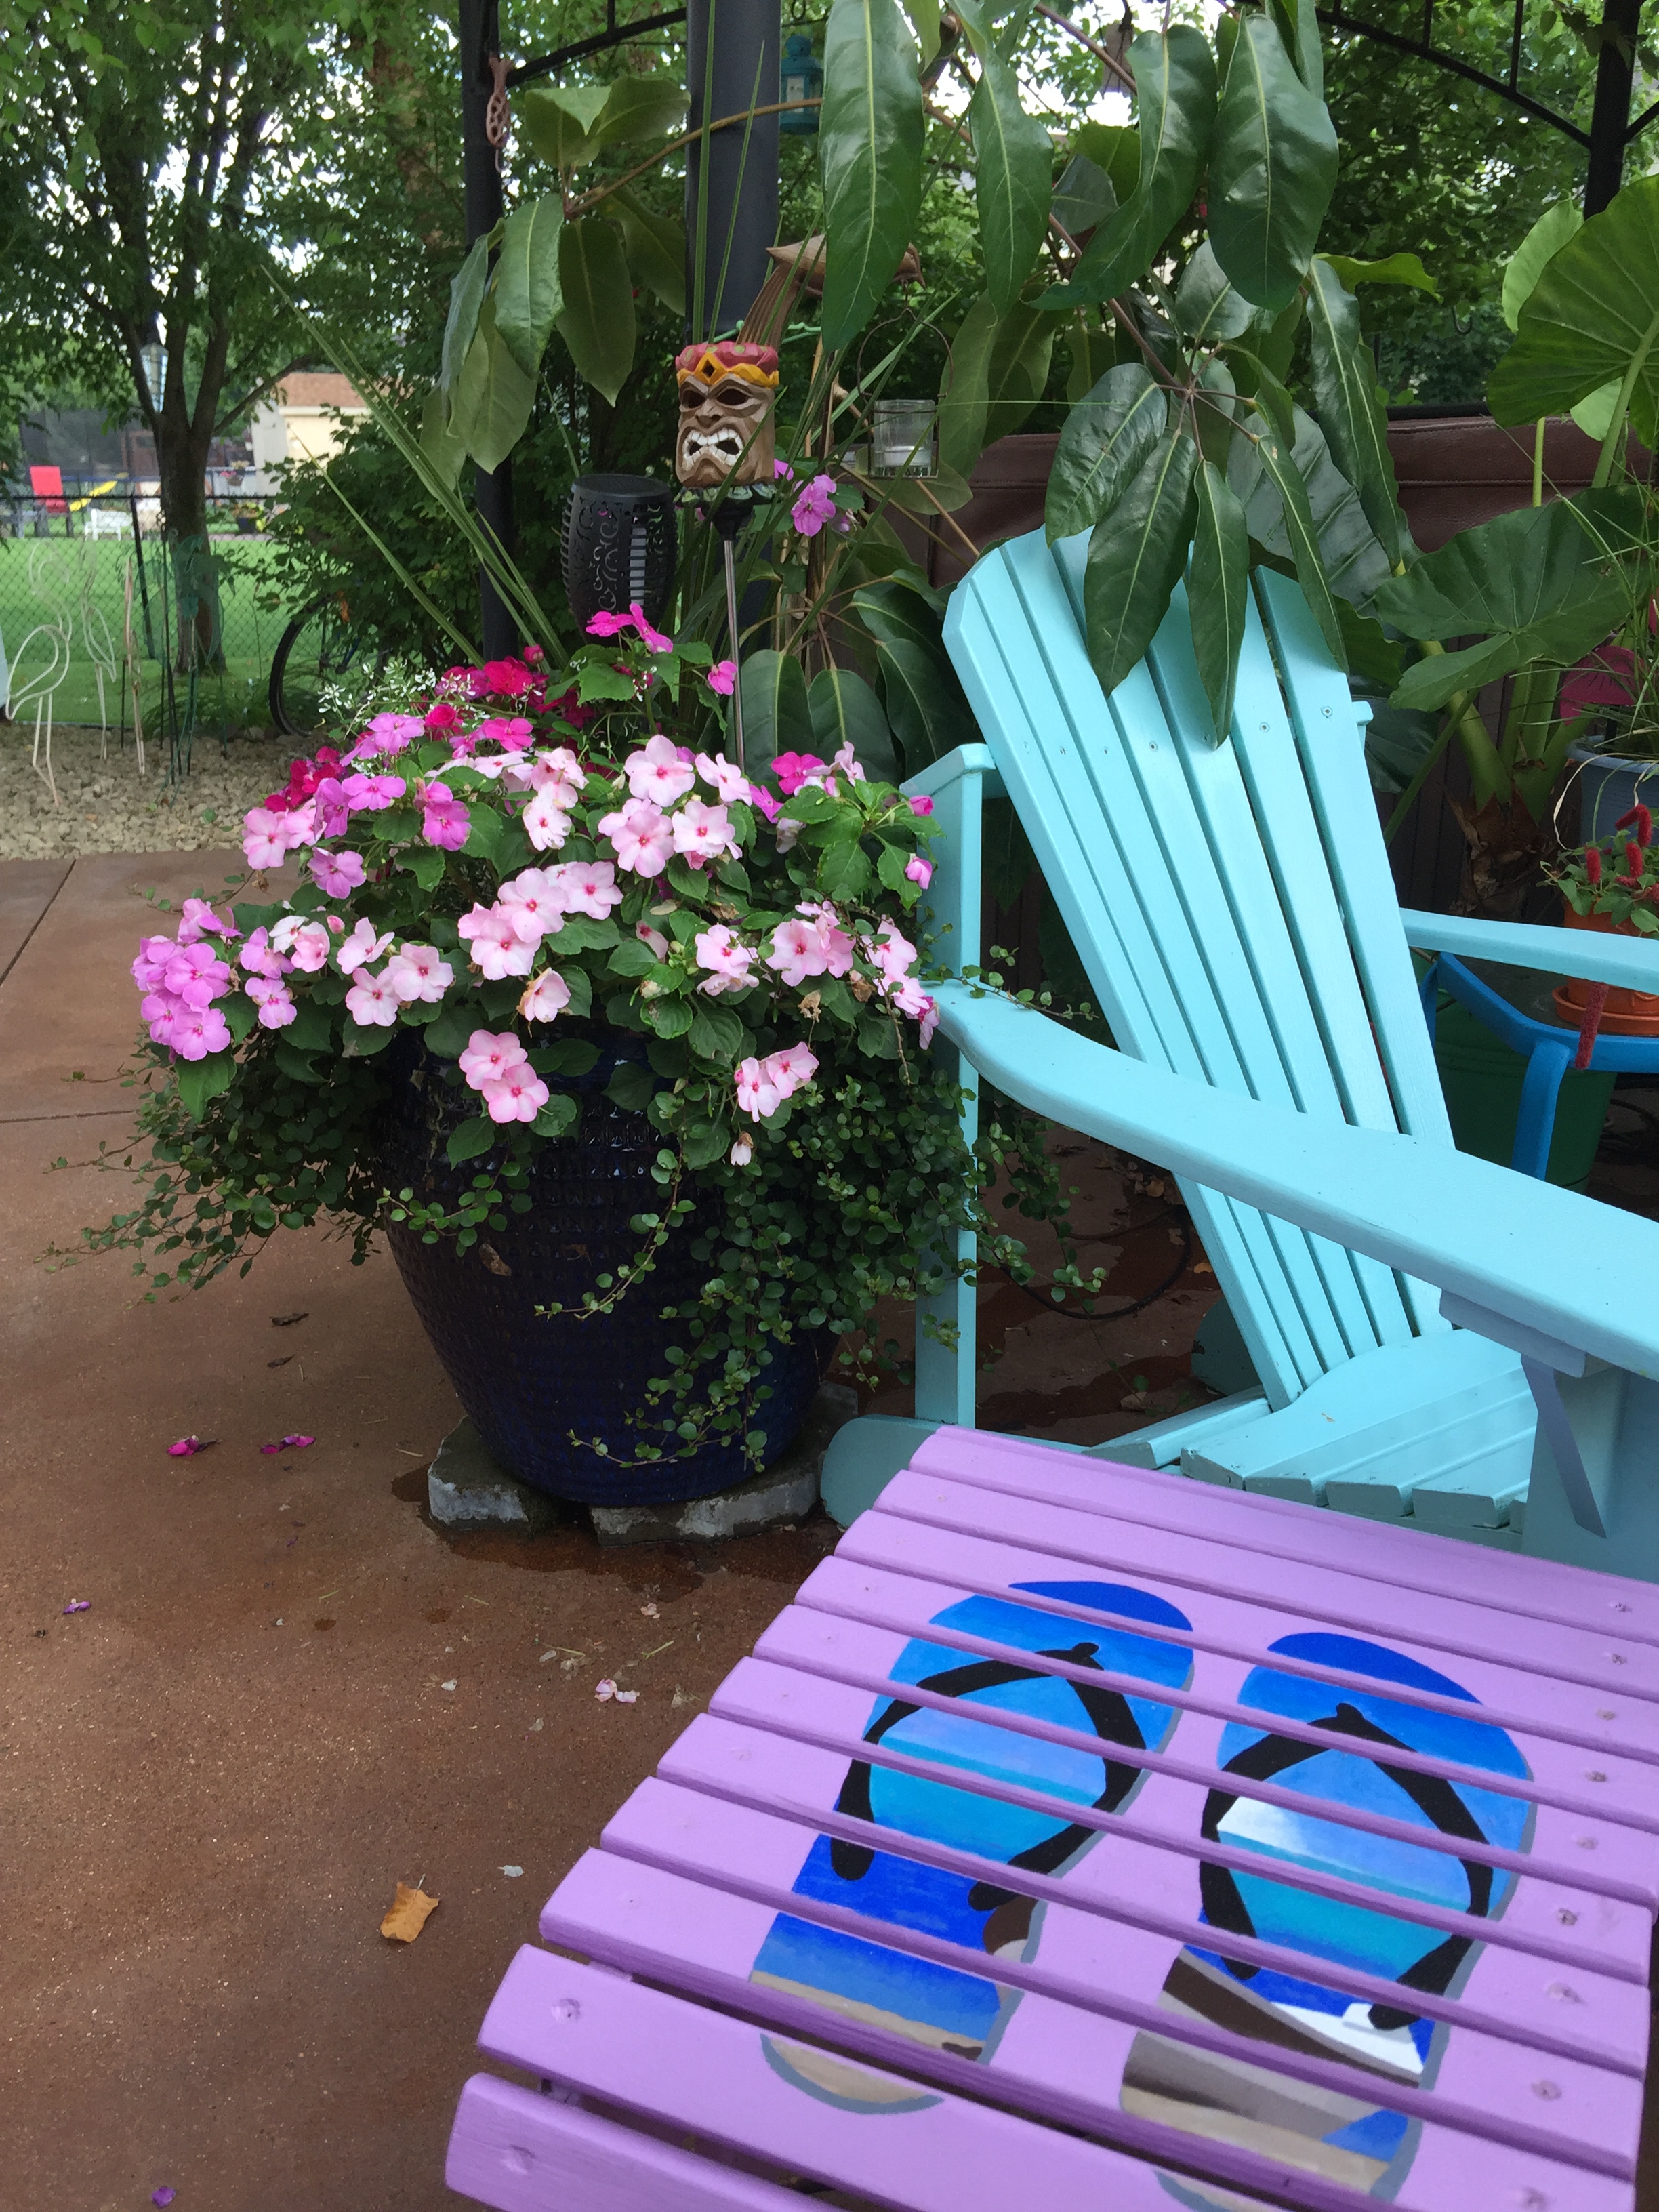
 Here are a couple of other things that I’ve done as well. The table was originally black, we then spray painted it a light blue. I decided to try the two colors but it was too big for the bucket.
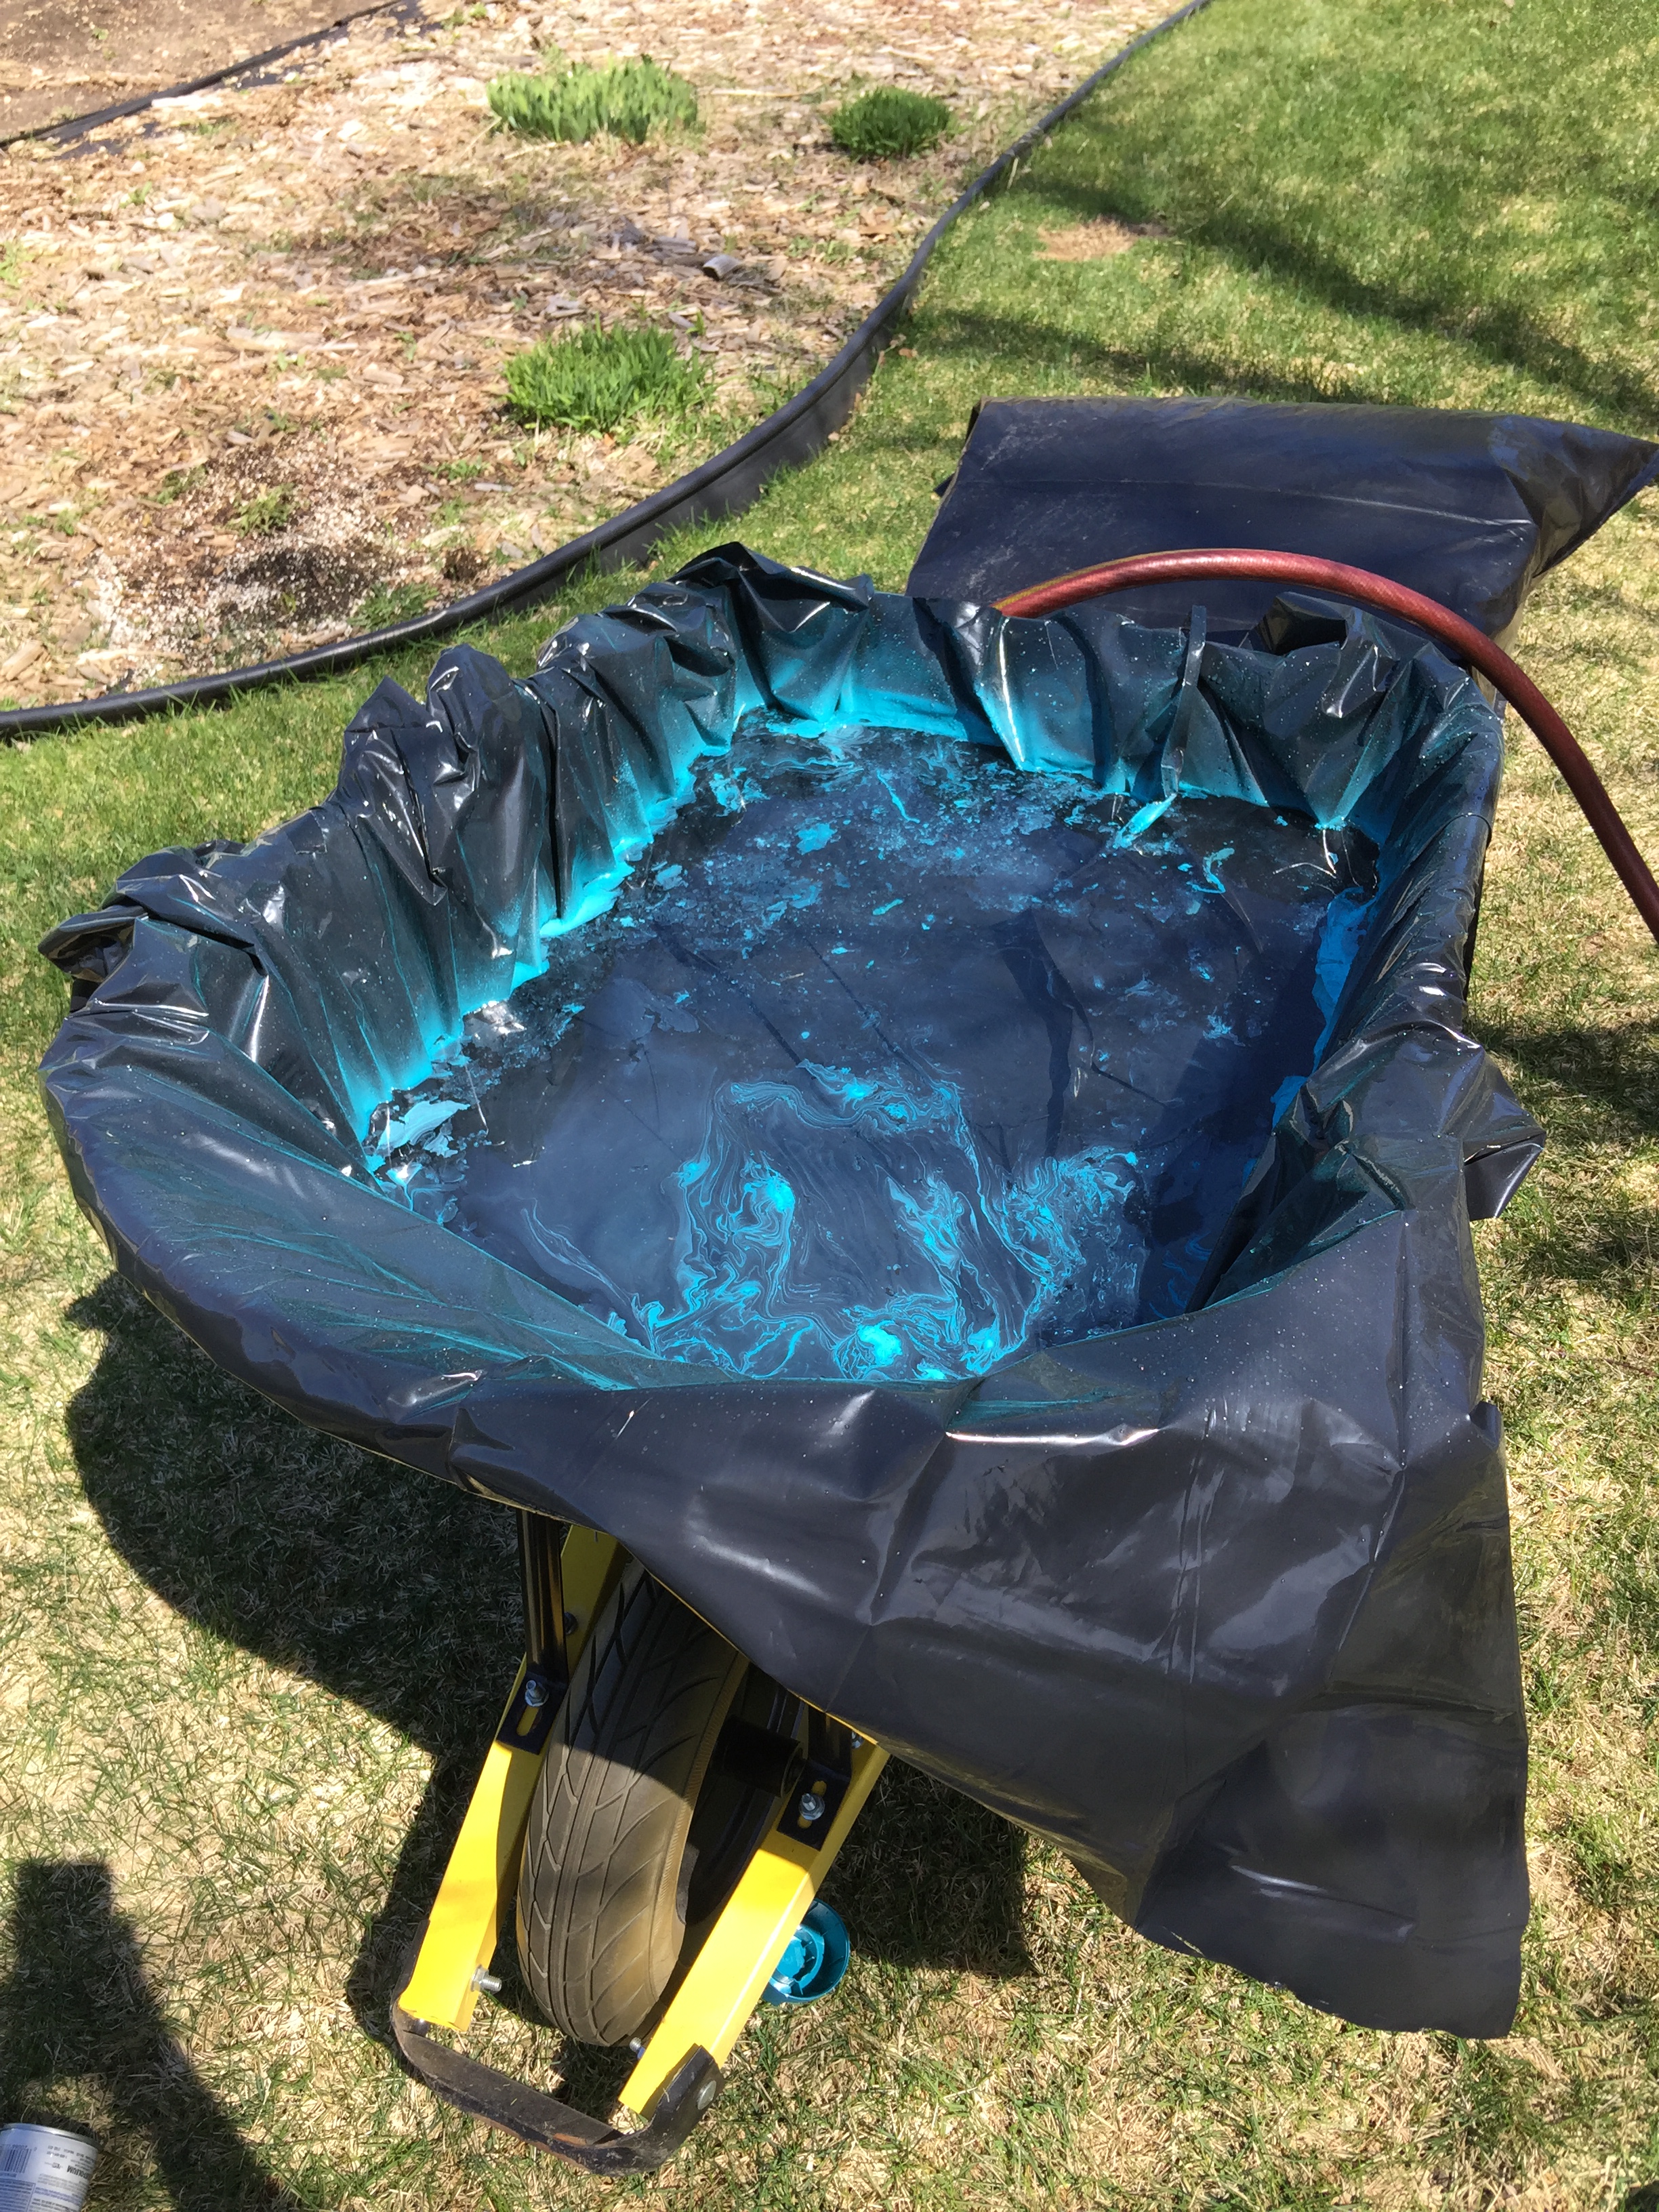


 then there it was, with only about 50 more steps to go. The end. Still steep, but doable.