Almost exactly a year ago I wrote a post on putting together a drip irrigation system for your patio or flower garden to help ensure your flowers and/or vegetables stay watered, even if you’re not around to do it. Well one of the lessons I learned last year is that there IS a limit to what you can do with a very basic set-up and 1/4″ tubing, but fortunately, there is a solution.
I ran into a problem last year that didn’t make itself known right away. It wasn’t until we had transplanted several hosta from our backyard where they weren’t doing much of anything, to the front yard landscaped area next to our sidewalk where our 15-year old shrubs had finally given up the ghost. After pulling out a lot of old, tenacious roots, we added in some lovely soil amendments to break up all the clay we have to deal with, and planted the hosta. I then set about putting my drip irrigation together.
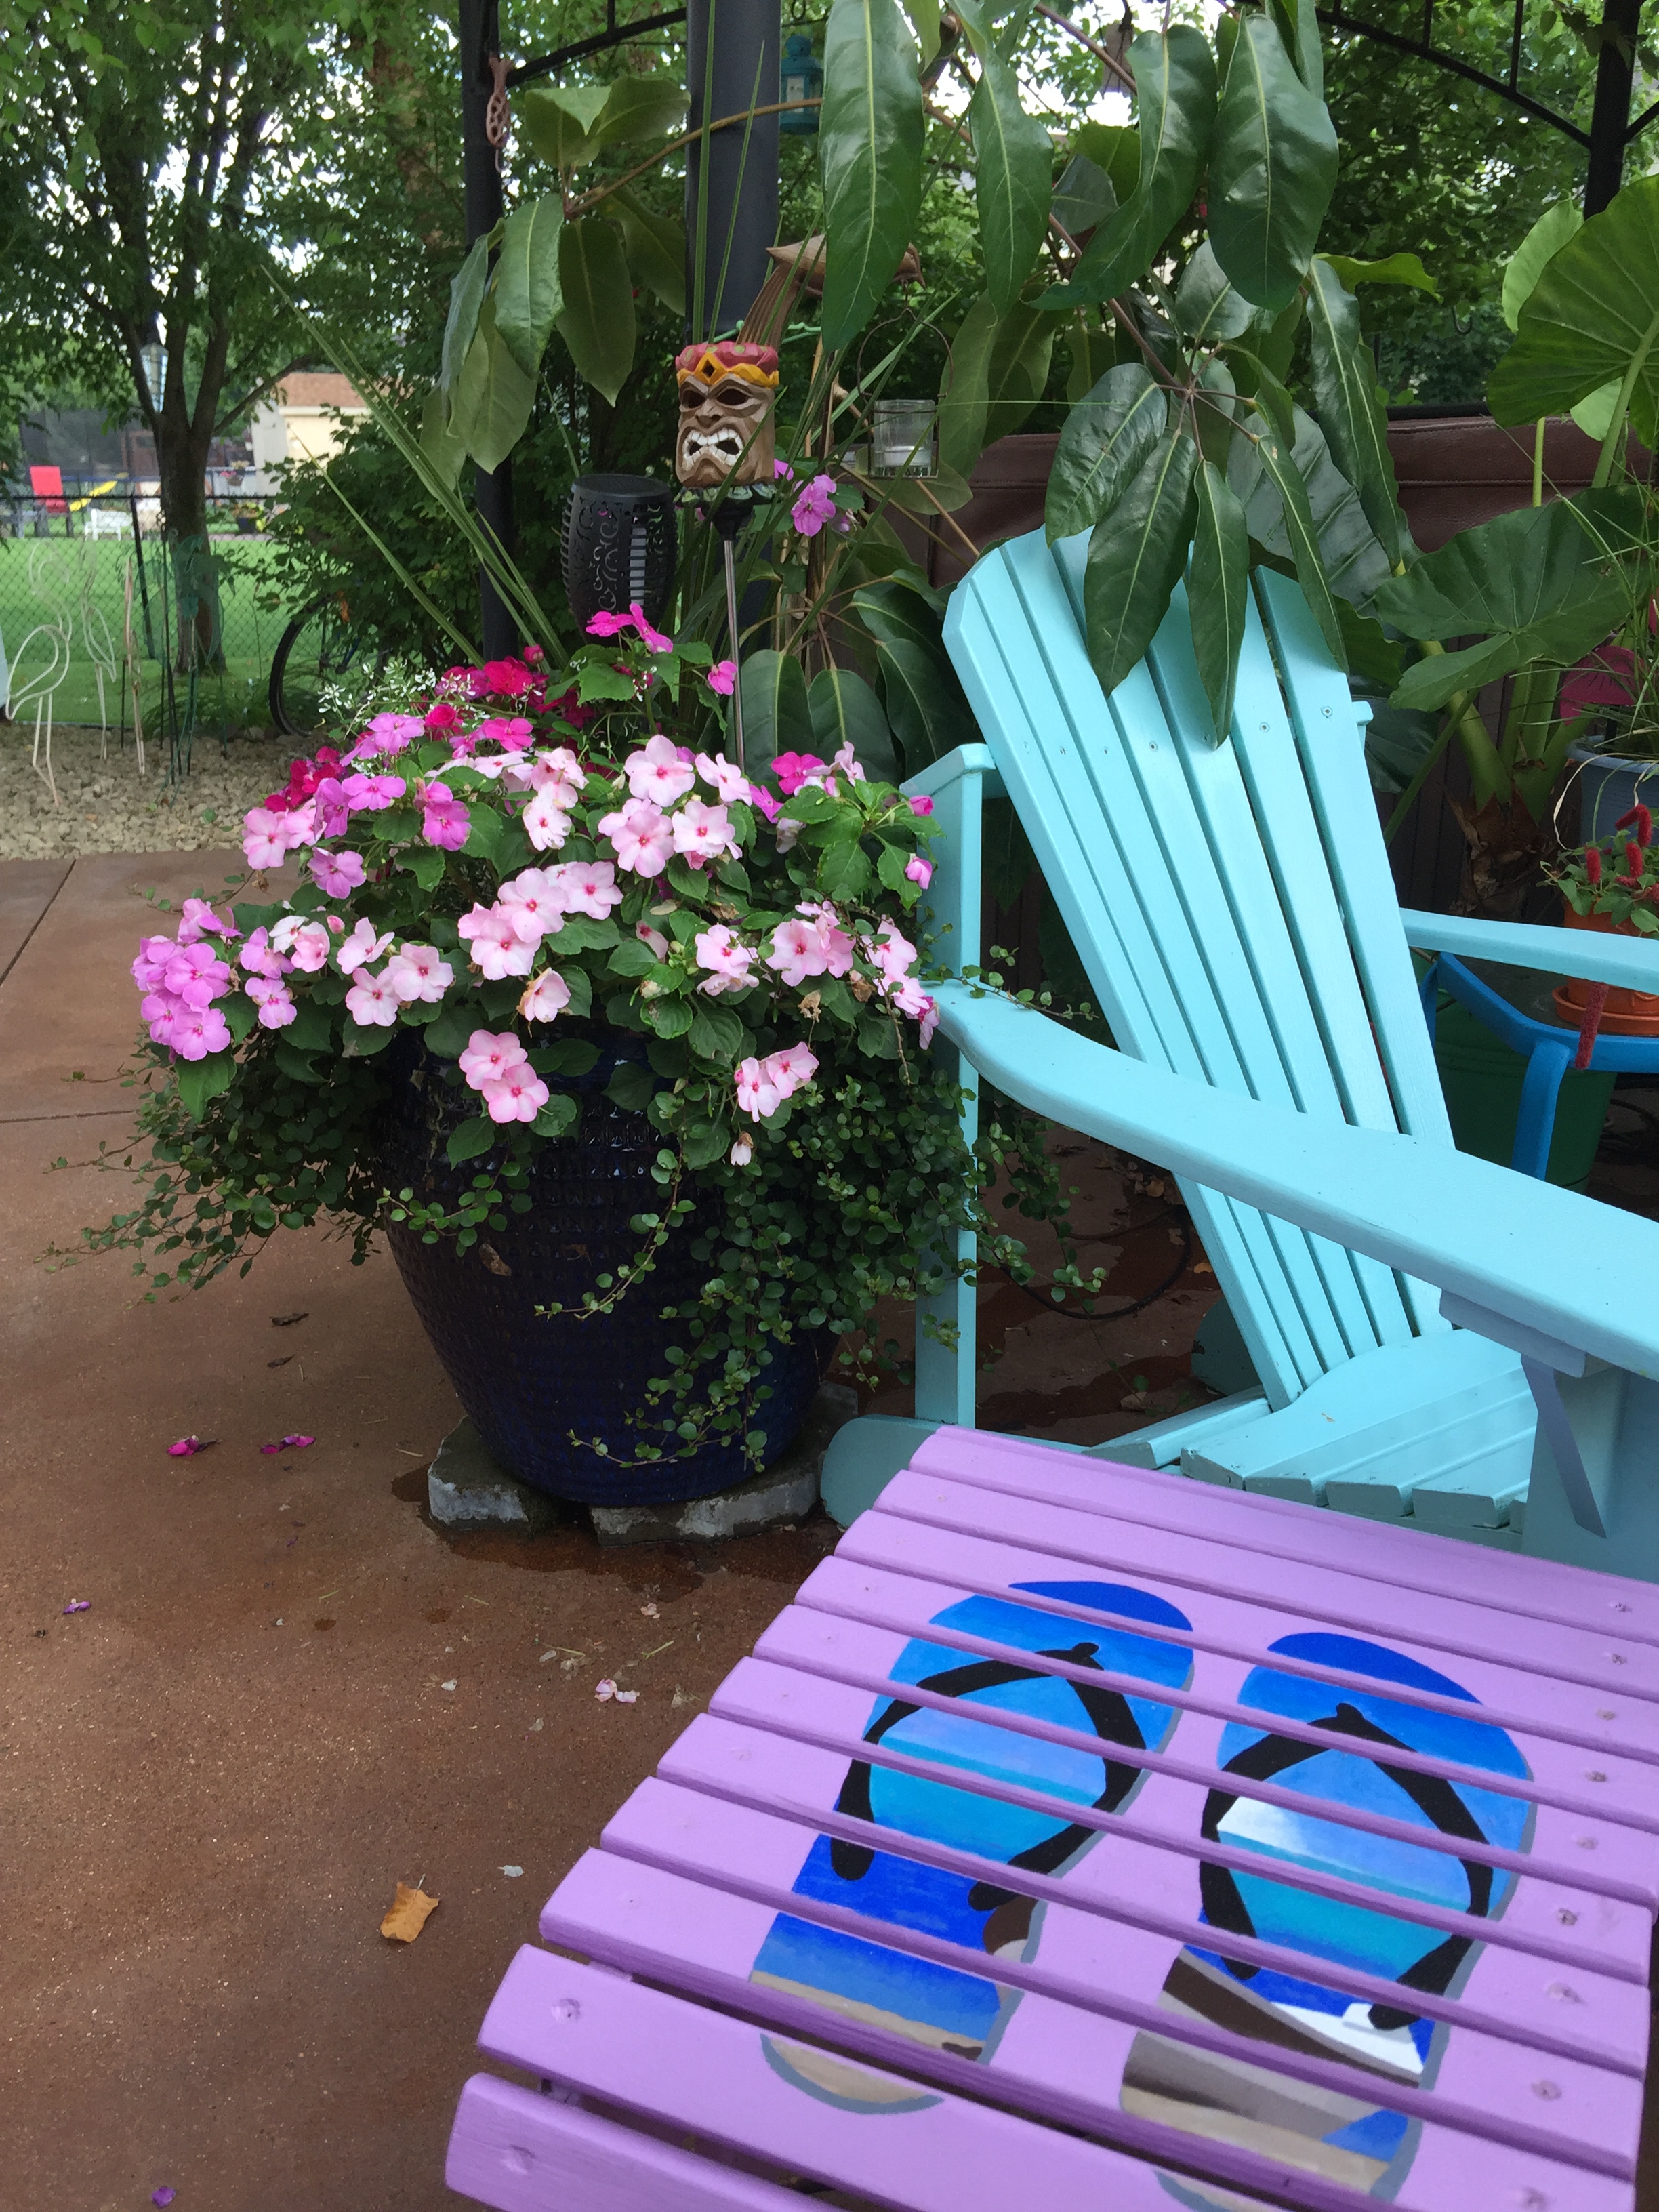
I wanted to really make certain they were well watered, so rather than just use a button dripper with about a 0.5-1.0 gallon per hour (GPH) flow rate, I brought my big guns – the adjustable dripper on a spike that has a flow rate of 0-10 GPH. Sounds really great, doesn’t it? The hanging pot next to our front door already had one, as did the elephant ear plant on the other side of the door. After adding in the new hosta on the right side of the sidewalk, and the 5 new hostas on the left side, for the life of me, I could NOT figure out why I wasn’t getting anything more than a trickle for the last 3 or so hostas, despite having the flow rate on the drippers wide open. It wasn’t until I did some basic math that it all made sense. 8 heads at up to 10 GPH – on tubing that has a max flow rate of 35 GPH – I’d have to turn the rate so low on the plants on either side of the door that they would barely even get watered at all. As my husband is fond of saying, it’s an insurmountable problem, and nothing I could ever do on that setup was going to fix it. I had a similar situation on my patio, with too many drippers for the tubing, and barely being able to get all of my plants watered.
This year, however, I decided to upgrade, and for a small investment and a little planning, I’ve got a far superior set up. I switched over to the DIG products and am running 1/2″ tubing rather than 1/4″. The flow rate for that is 220 GPH.

For a quick visual reference, check out the difference between the two lines. In this picture, coming off the left side of the timer first is the pressure reducer and filter, followed by the new 1/2″ black tubing at the bottom. On the right side of the timer right after the pressure reducer is the original 1/4″ tubing. It really makes it easy to see the difference in the amount of the water that can move through the tubing!
I ran that all the way around the periphery of the patio and then plugged the individual lines for the pots into the tubing. It was so simple to do; all you need is a punch to make the hole in the tubing and the connectors. One end of the connector goes into the 1/4″ tubing, the other into the 1/2″ tubing. On the other side of the 1/4″ I put the appropriate watering head. At the end of the 1/2″ tubing run, I just looped the tubing over on itself and put a zip tie on it to securely kink it closed rather than buy the special gadget they sell for this purpose.
So how small of an investment you wonder? Well I had a lot of the smaller tubing and connections, but the larger tubing and head unit, plus a few connection pieces that I needed cost me around $30. I set it up in an evening, everything went together really quickly. The only problem I had with it, was I got a little carried away on one punch and went out the other side. Fortunately DIG has a solution for that with something called a “goof plug”. It looks like a standard connection plug but it’s solid. You just push it into the spot where you made the mistake and it’s plugged up.
Another addition this year are some micro-spray mister heads from Rain Bird for some of my hanging pots. If I used the adjustable sprayers, it seemed like they got watered, but a lot of the water was also just running through the pot and out the bottom. With the sprayer head it seems now like it’s more evenly dispersed over the whole plant and takes longer before I have run-off of the extra.
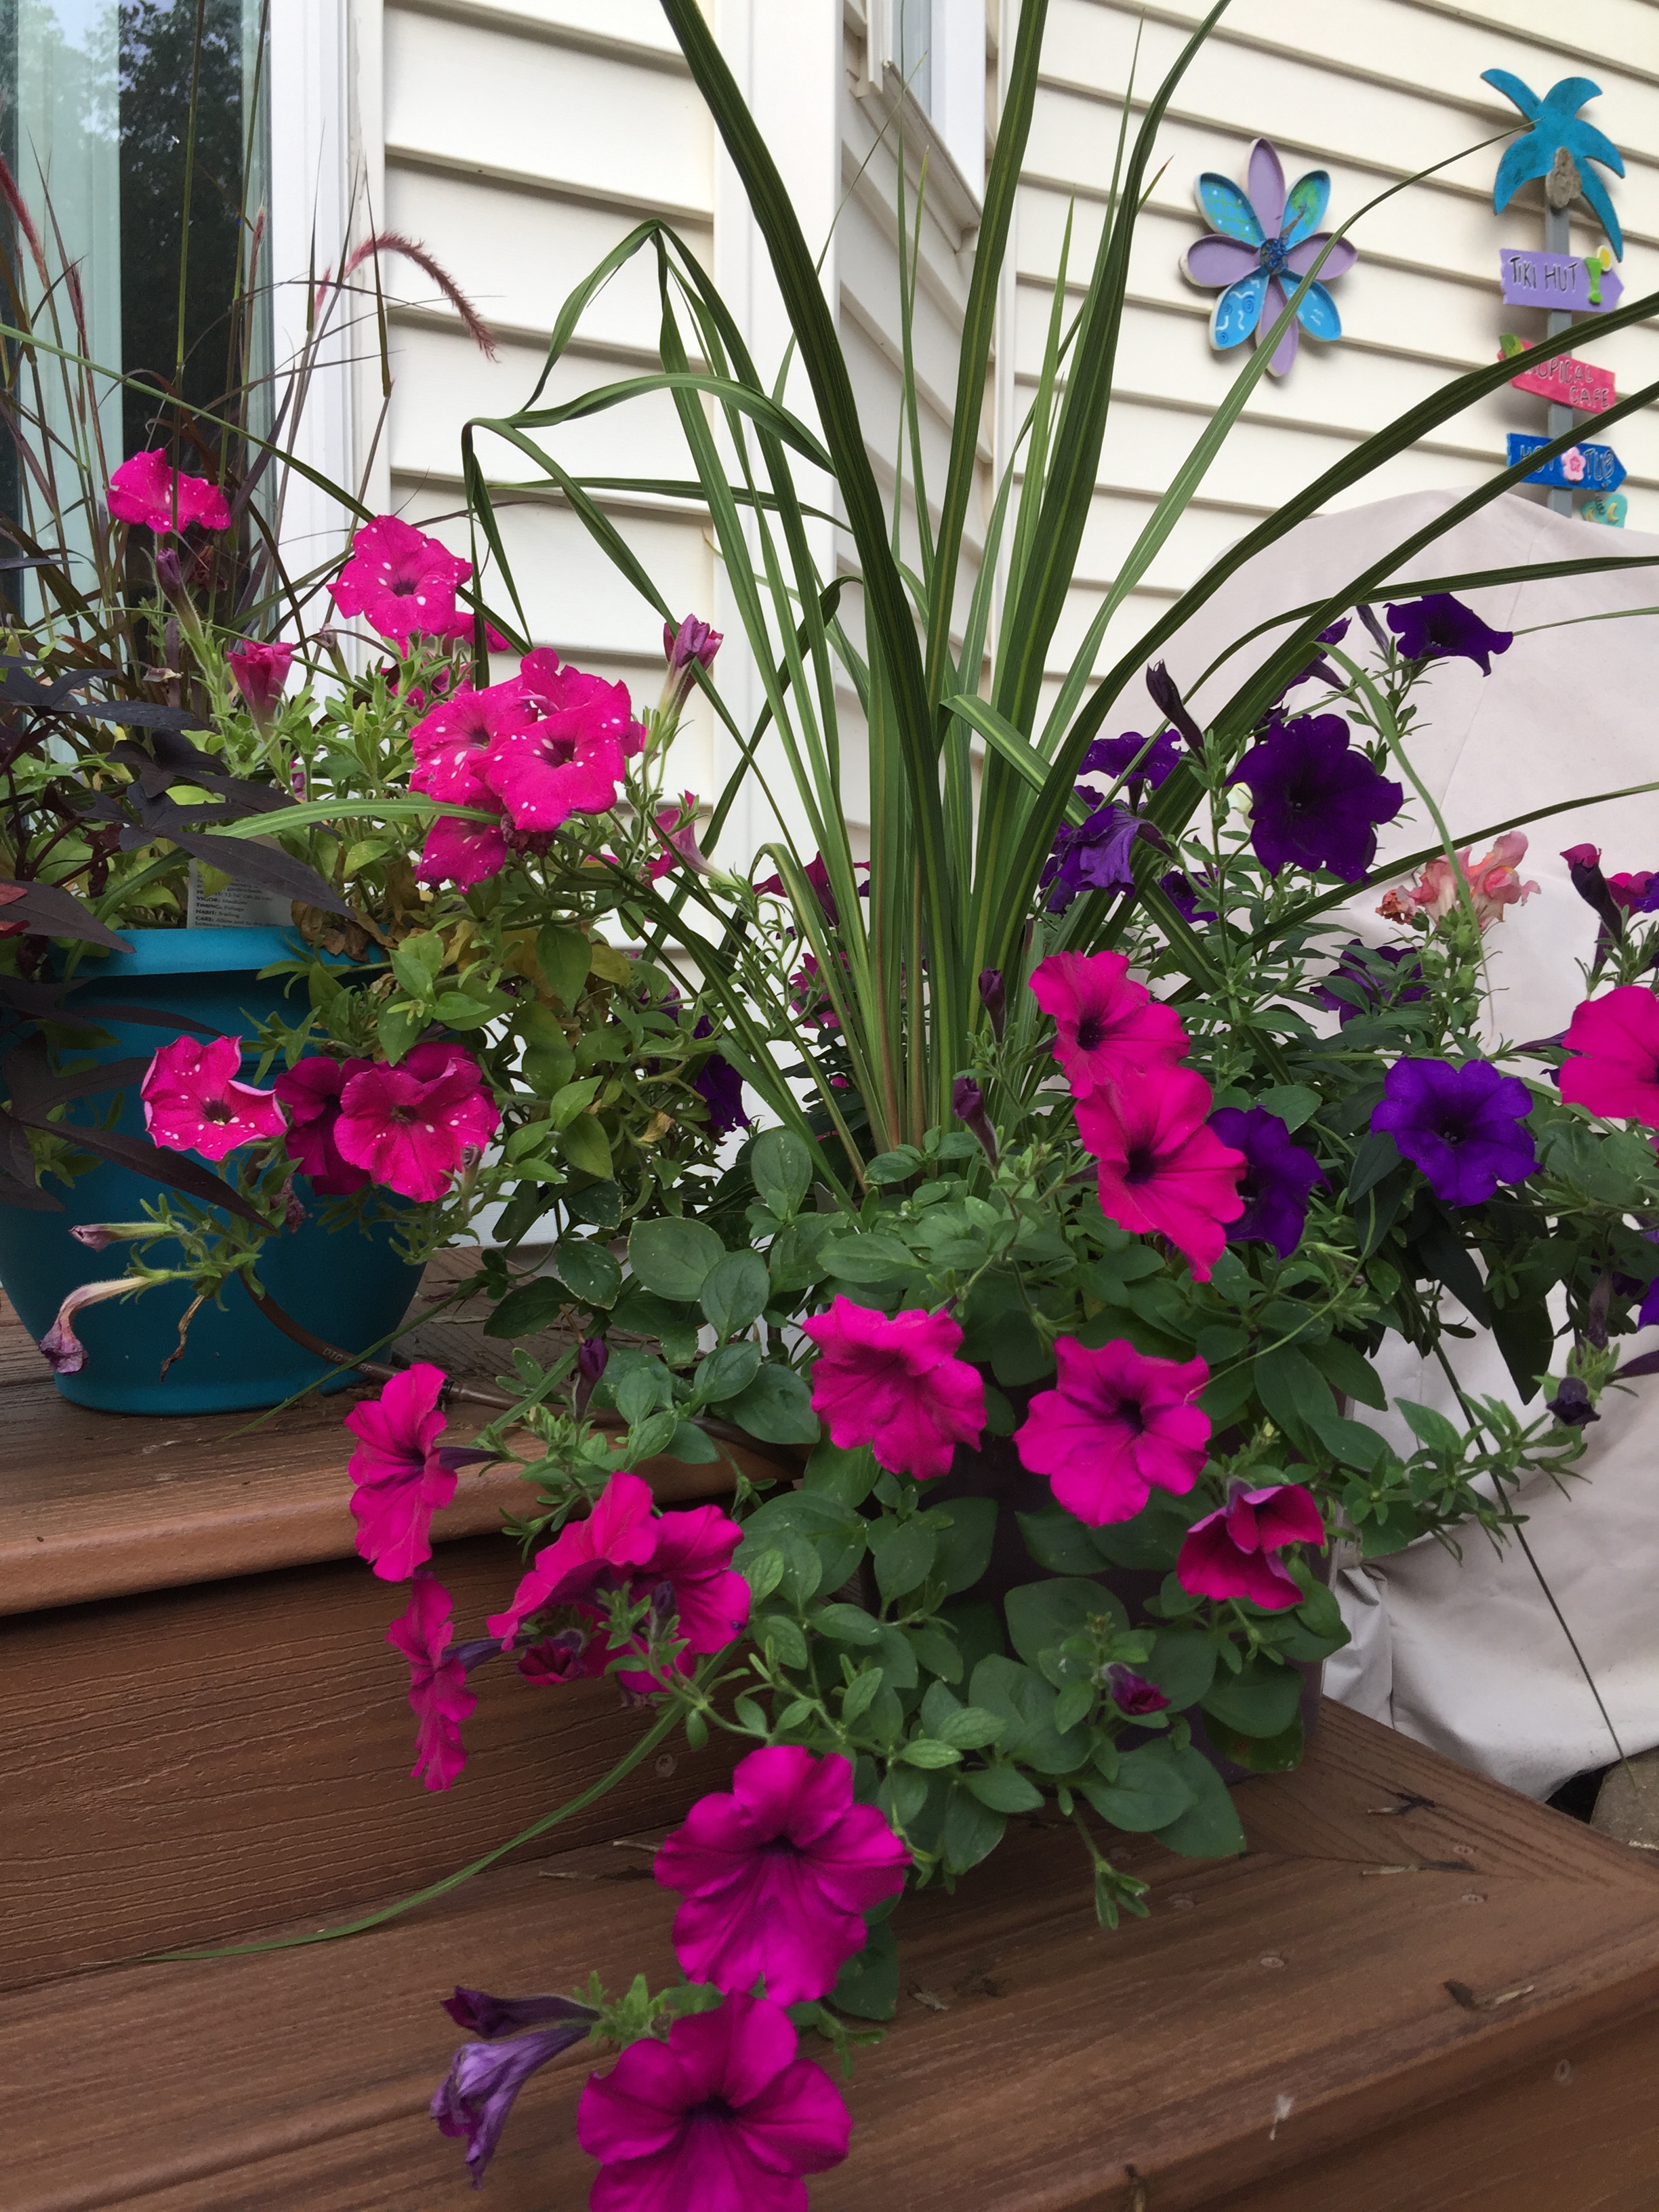
The plants are happy, getting watered consistently every day, and I don’t have to run around filling up my watering can. We even buried some PVC pipe under the grass about 4 inches down, with an elbow on each end to bring the pipe up above ground so that I can run 1/4″ tubing from the patio area through that, under the grass and into a different area that we have landscaped. In there I have a couple of other pots to water as well, and they’re now connected to the irrigation system too. So even on really hot days, if I get busy or just don’t want to be outside like last week when the heat index hit 114 degrees, it won’t matter: my system is on a timer and my plants stay happy. Can’t beat that!


 I also wonder if we suddenly have had a bumper crop of idiots that have moved here, or if I’m just becoming an old fuddy duddy, but it seems to me with each new storm, I see really stupid people out who have no business driving. With all due respect to Bill Engvall, I really want to say to them, “Here’s your sign”.
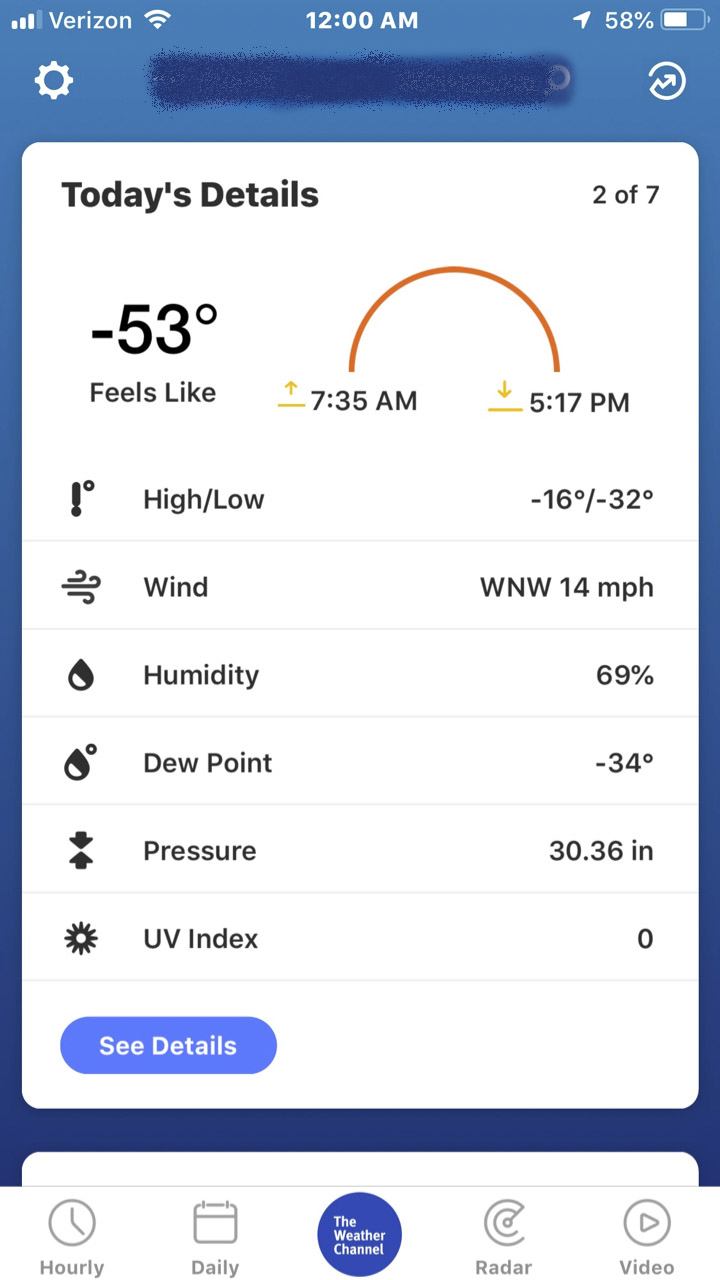 Note that the actual temperature was probably ONLY about -32 degrees. It just felt like -52 with the wind chills. Just. Brrrr. What’s really bizarre was that the next day was 24 degrees. Above zero. That’s a 50 degree swing in two days, and wow, it hit 36 on Sunday!

 You can see an example of one on the right that I copied from eBay (with all apologies to the photo owner). What’s that supposed to show me? The background competes with the item, so that’s the first problem, and the camera focused on the background so the watch is blurred. If I’m going to ask a complete and total stranger to put their faith in me, and buy something they can only see in photos, the least I can do is take decent ones for them to see what they are getting. What works best for me, is that I set up a small area in my house when I’m getting things ready for sale, and depending on what they are, or how much detail is needed, I might even set up some studio type lighting or put a macro lens and ring flash on my camera so that I can take really good close ups.
 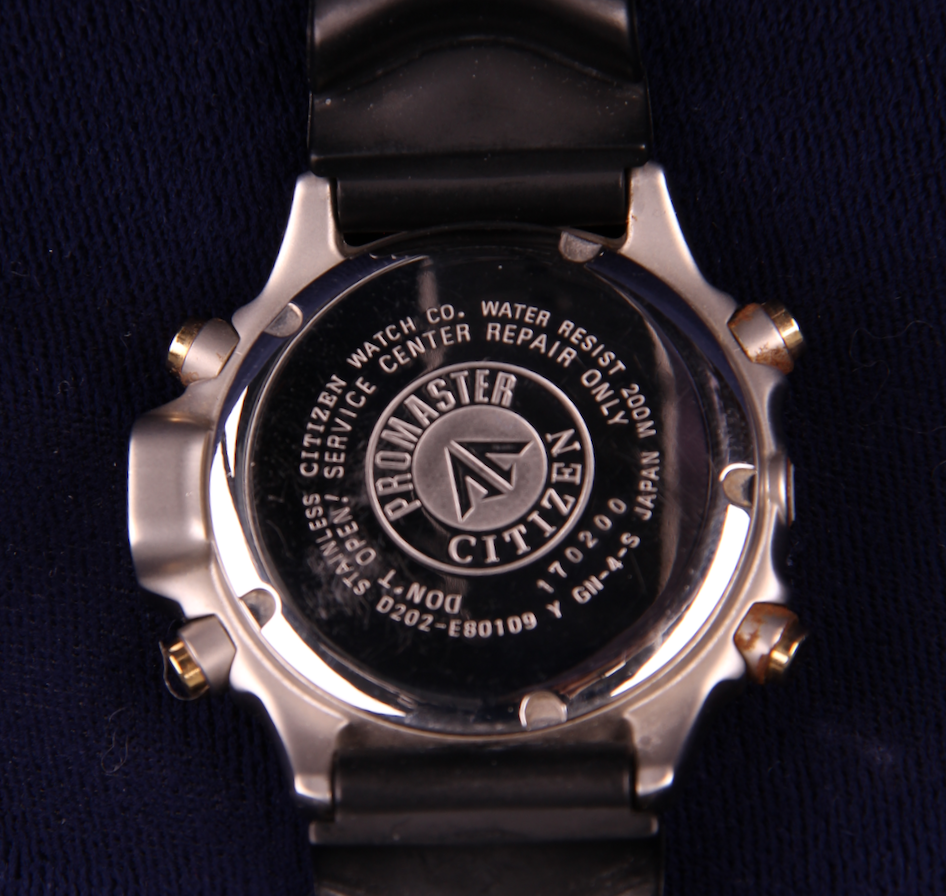 Here is one of mine: Notice how you can see all the detail on the back of the watch, including that there are minimal scractches? I realize not everyone has the capabilities for the same set up I do, but everyone should be able to find a way to take a photo that is sharp and clear. Also, remember to take pictures from different perspectives: front and back, sides, underside, etc. Show brand names, model numbers, anything that shows specifics about your item.
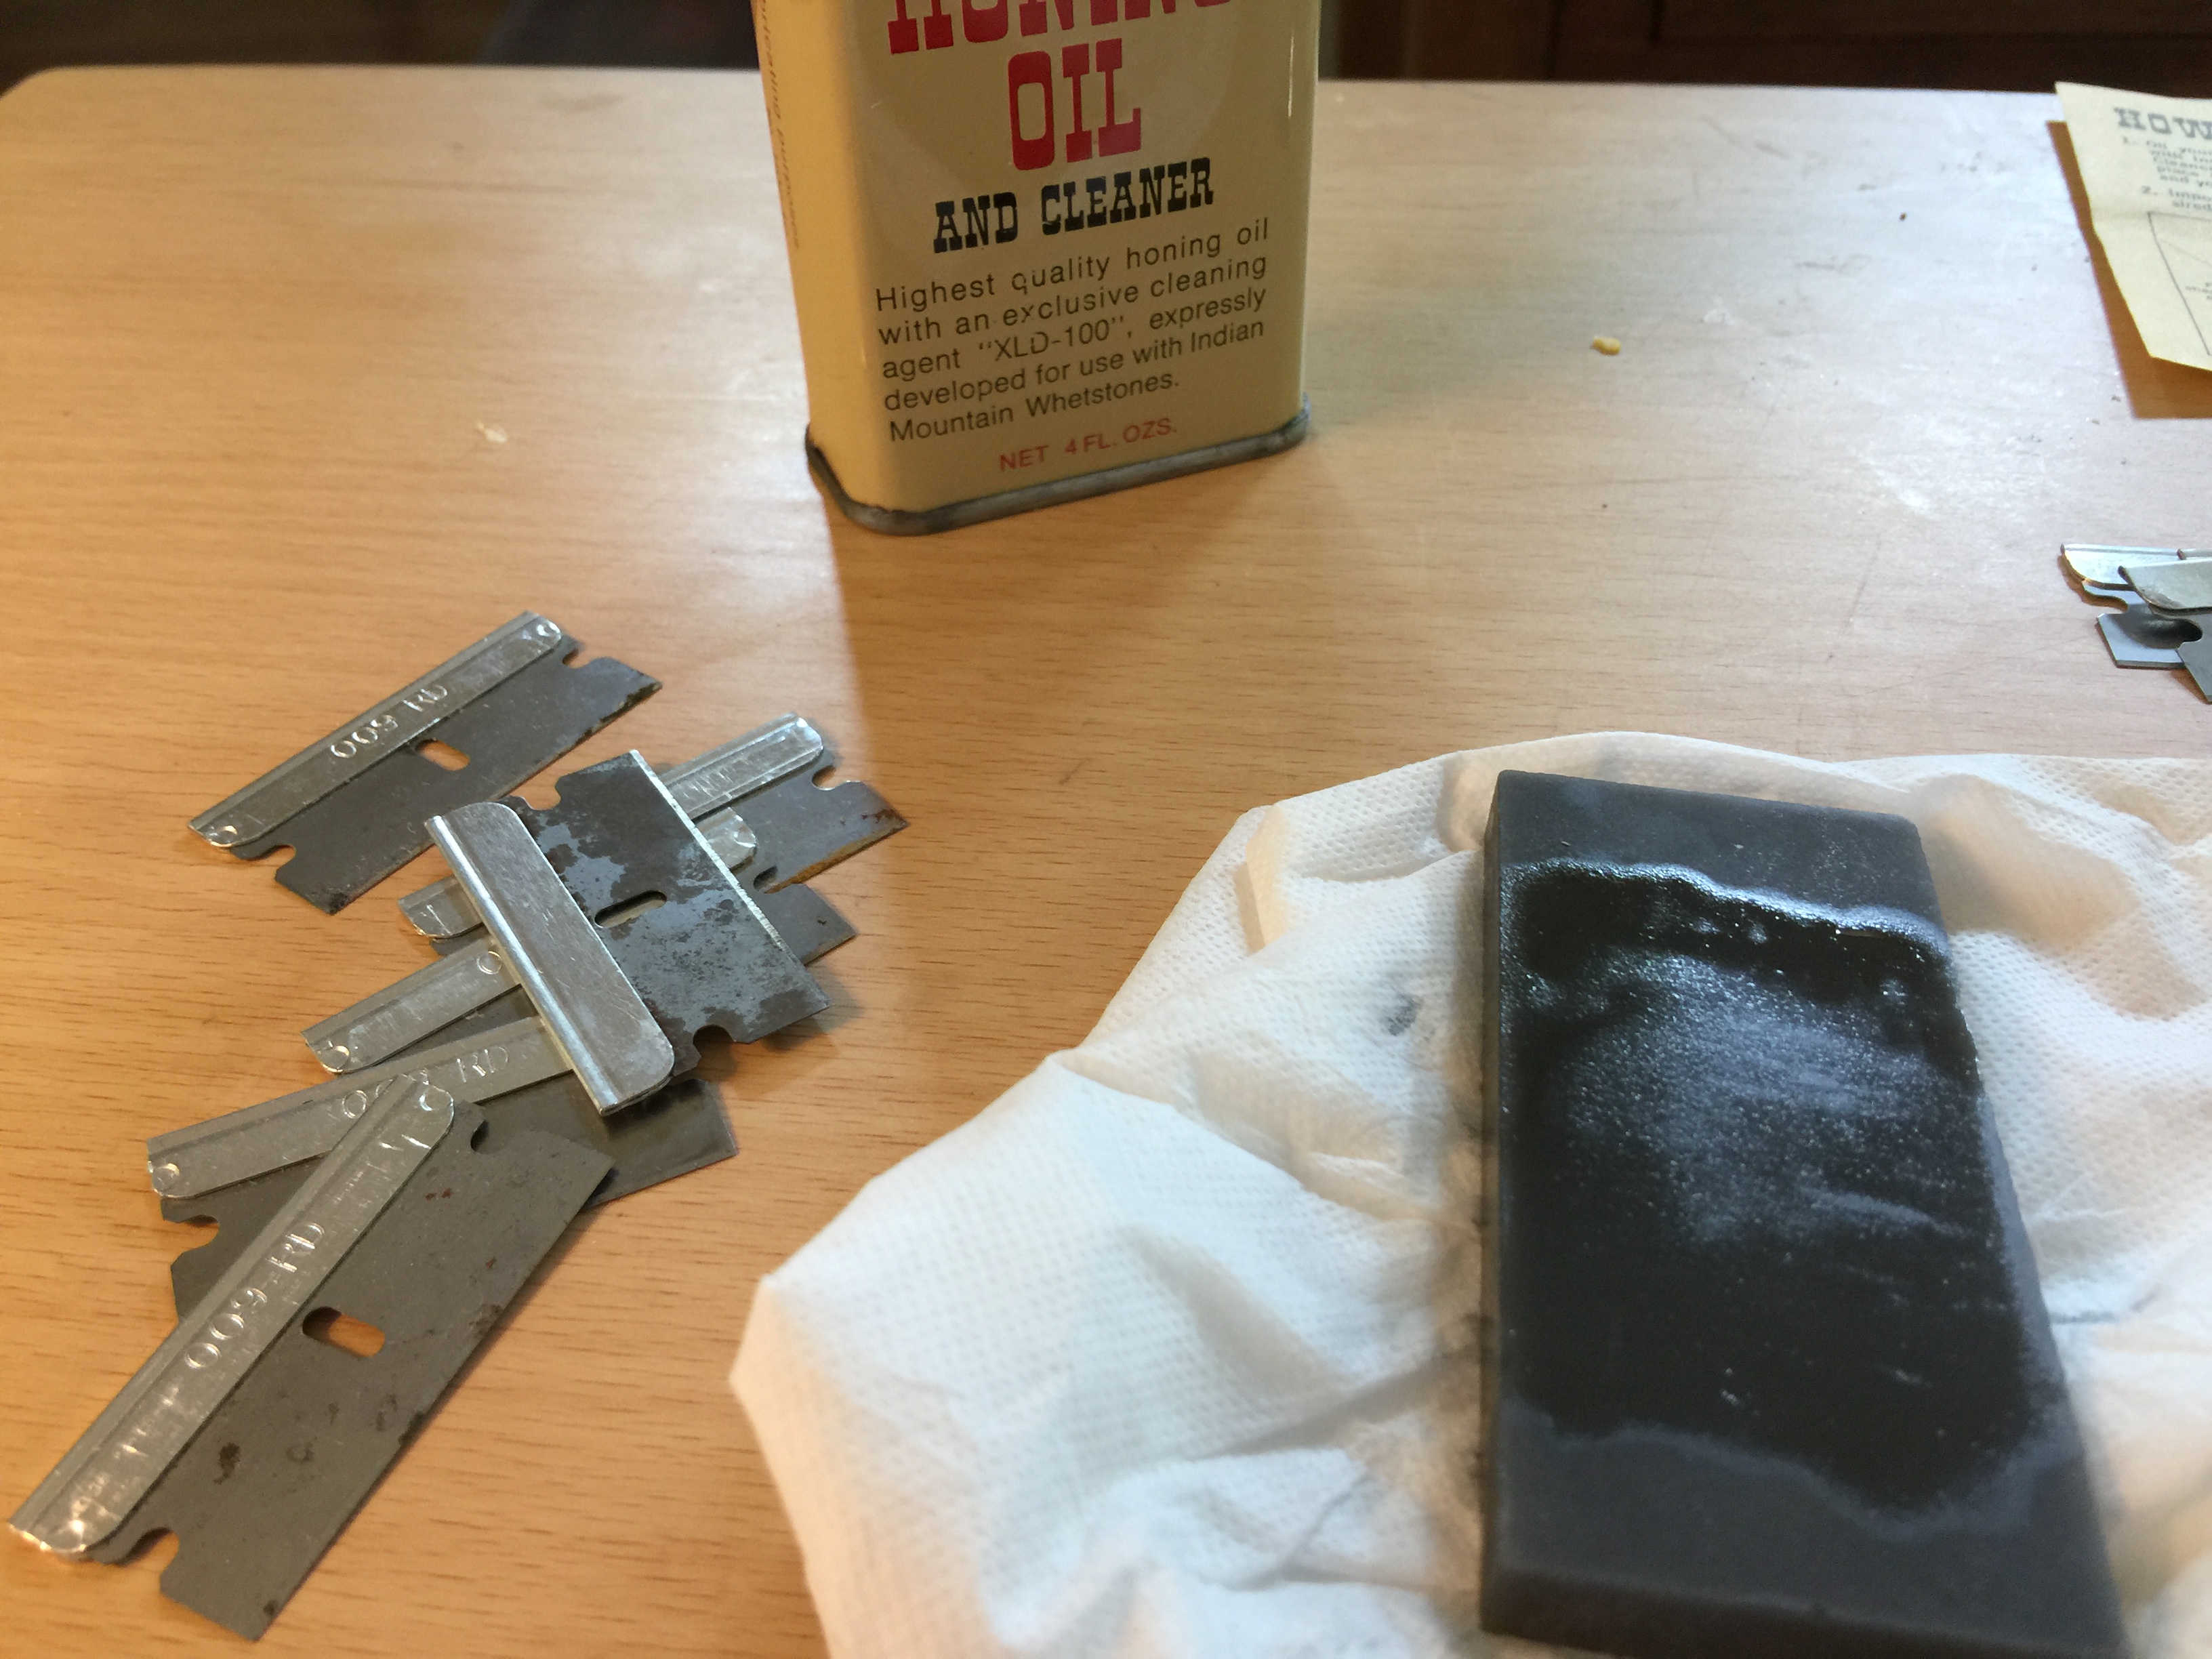 Get a blade sharpening kit, or if you already have a whetstone then get honing oil. You can see in the photo to the left, my whetstone with oil on it after I had sharpened a few blades along with my razor blade collection. (I managed to pull them back out of the plastic container with a tweezers. Carefully.)
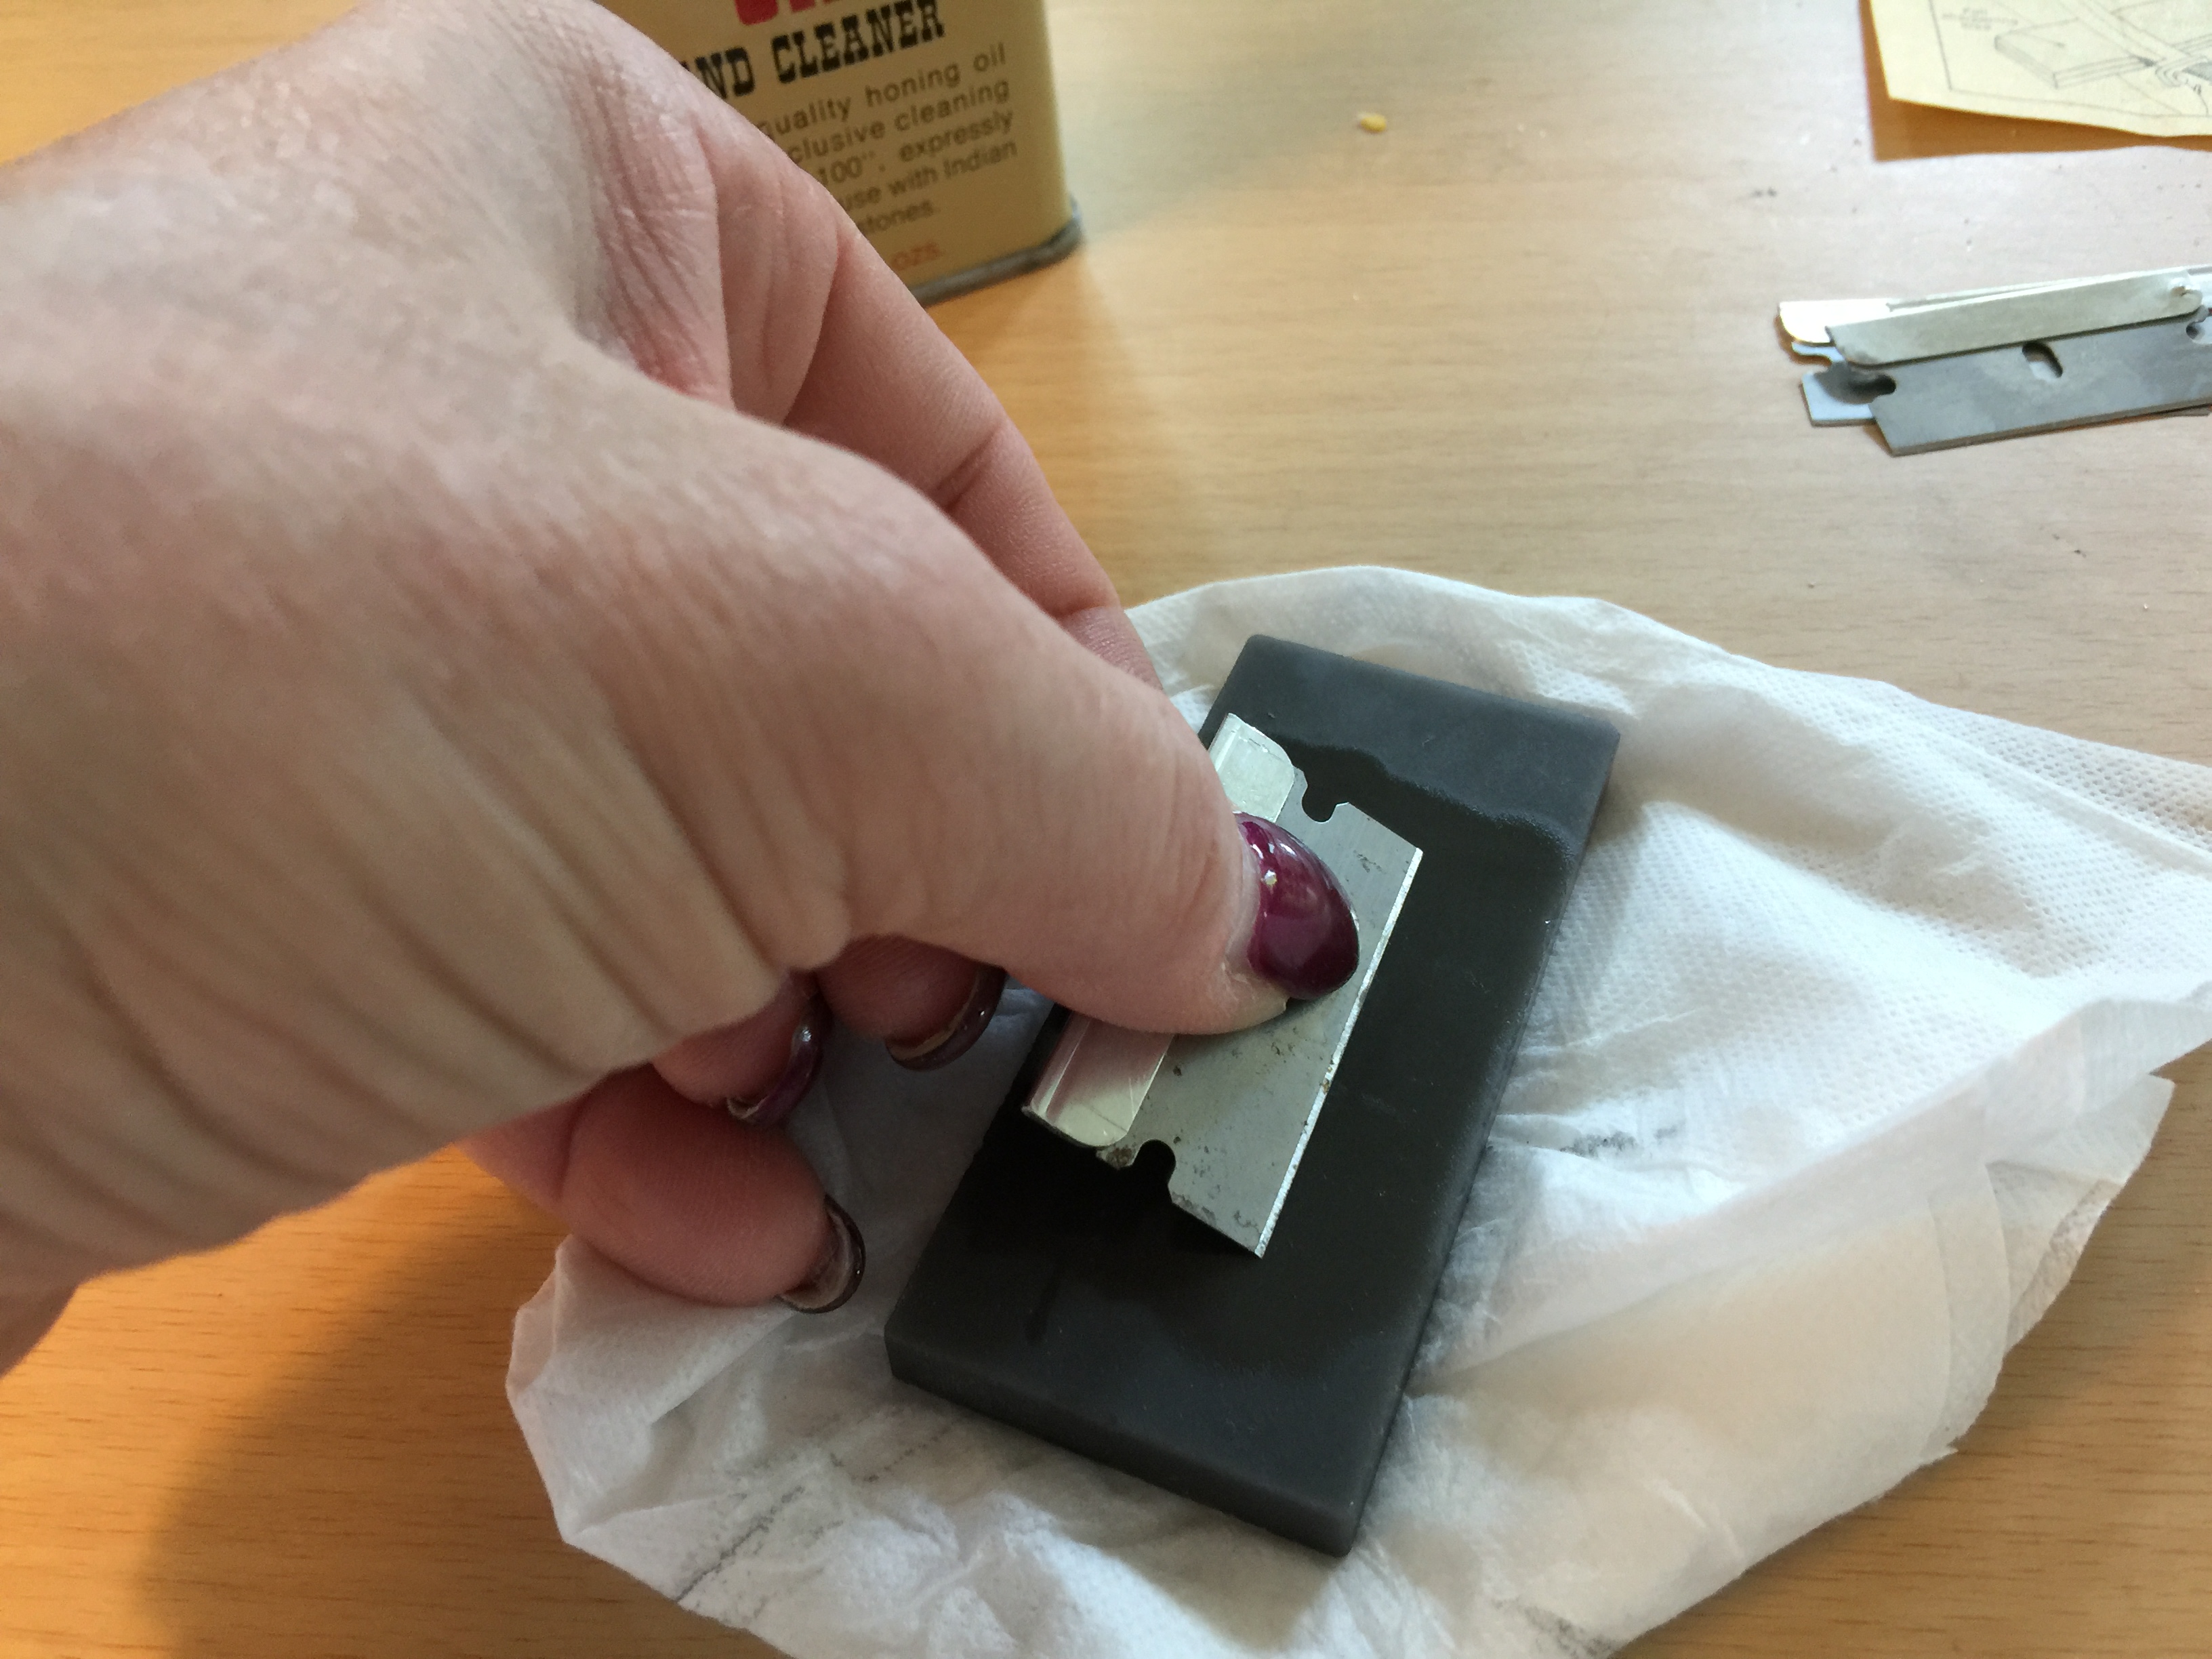 In the photo to the right, that would be pulling the blade from right to left. I did that on each side about 6-8 times, then wiped off the oil and tested it by pulling it against the edge of a piece of paper. After all were sharpened, I put them back in the storage container, and labeled it so I knew they were sharpened but not new. Now I’m all set with 14 freshly sharpened blades, and all it took was a kit we already had, and maybe 30 minutes to do all of them. And if you’re really in a rush, you can just pull them against some sandpaper. I used some 100 grit, that worked pretty well too.


